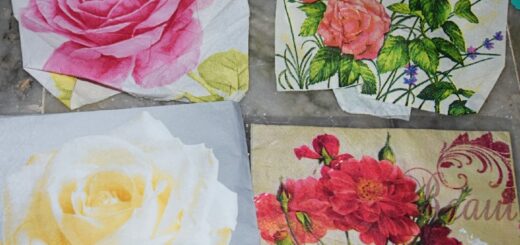
3D Decoupage on a wooden pen stand- Tutorial
I have shared about 3D decoupage on a bottle. In this post sharing tutorial on 3D decoupage on a wooden base.
The materials required are:
- A wooden base
- Decoupage tissue. Select a decoupage tissue such a way that, two same designs are available. Otherwise take two tissues of same design.
- Chalk paints
- Gesso or primer
- Air dry clay
- Decoupage glue
- Sponge
- Water and brushes
- Glitter powder
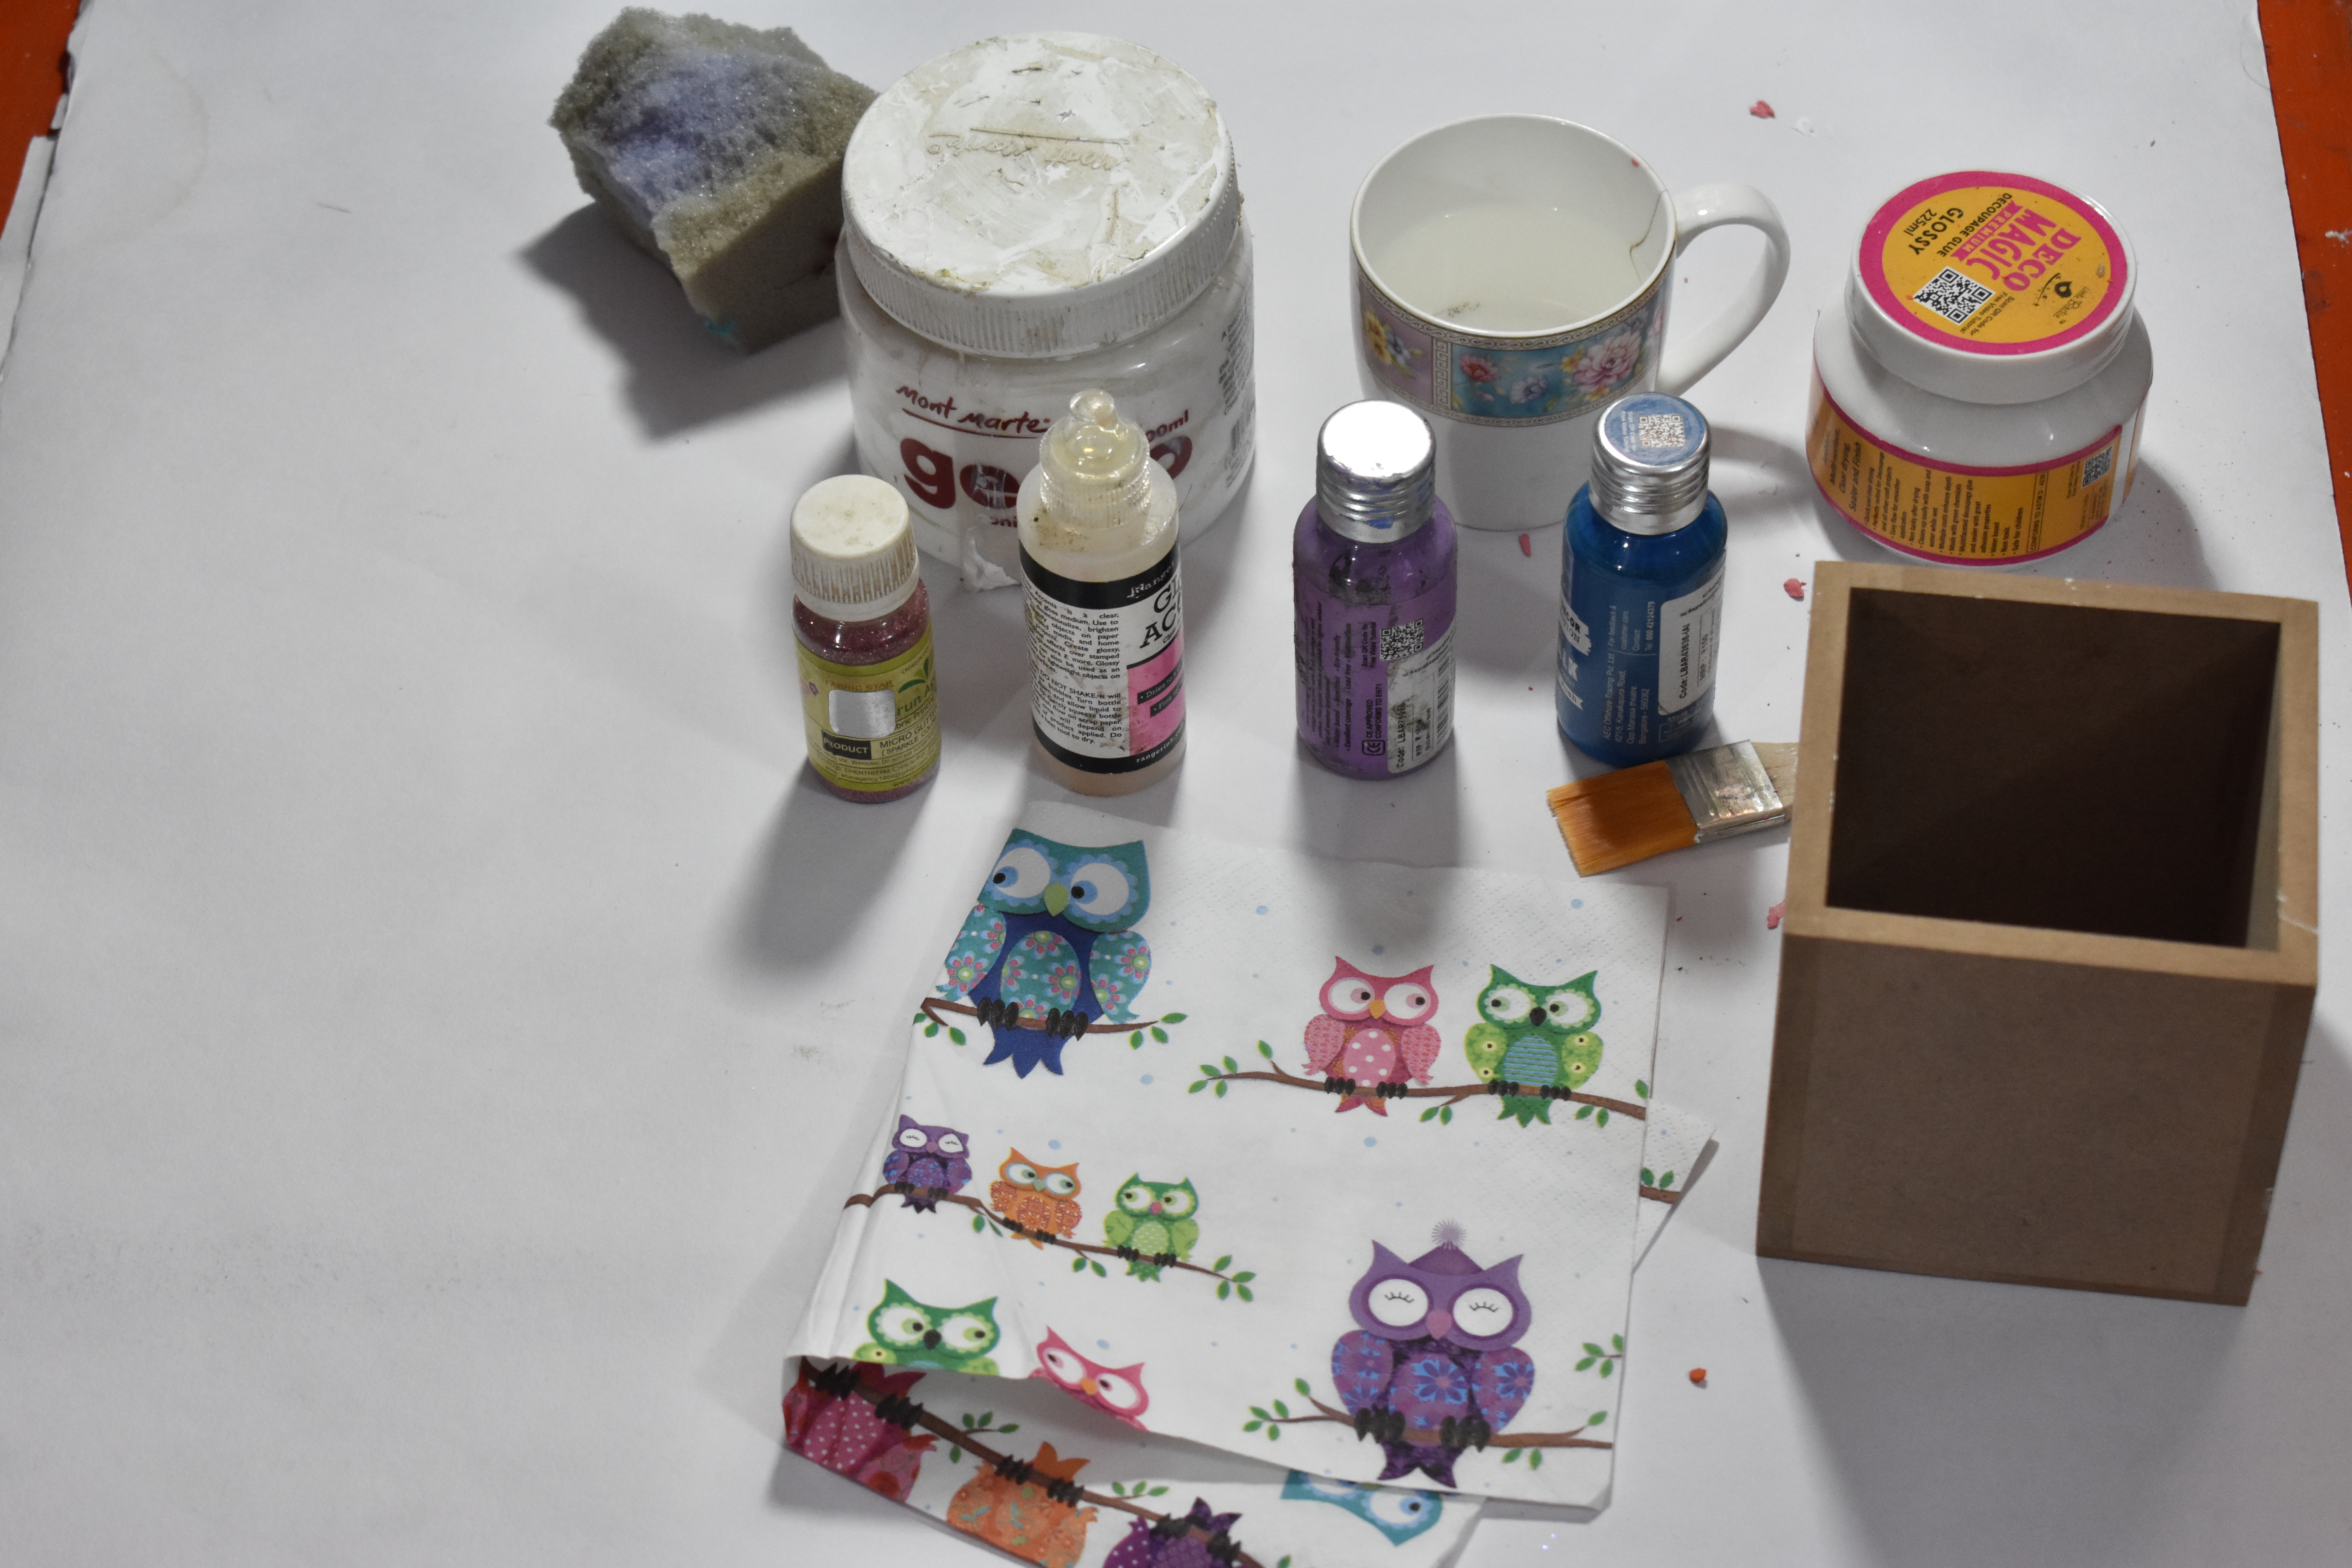
Materials requiredSteps of 3D decoupage:
1.Apply gesso evenly , all over the base.
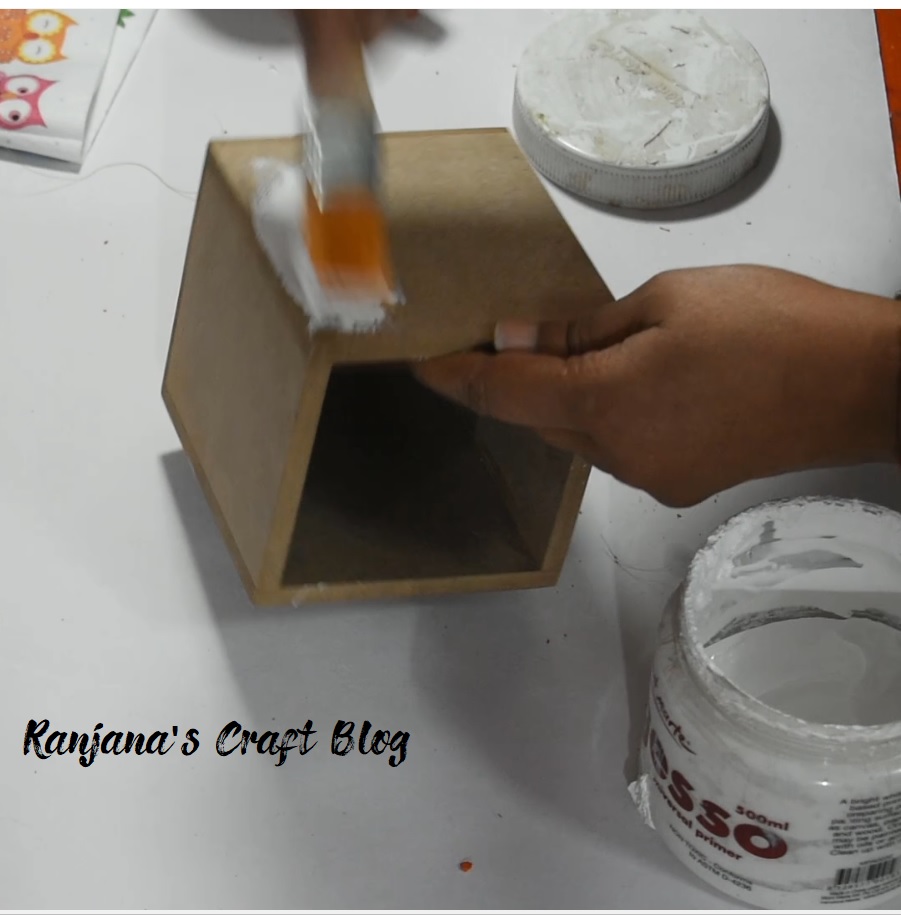
Apply gesso all over
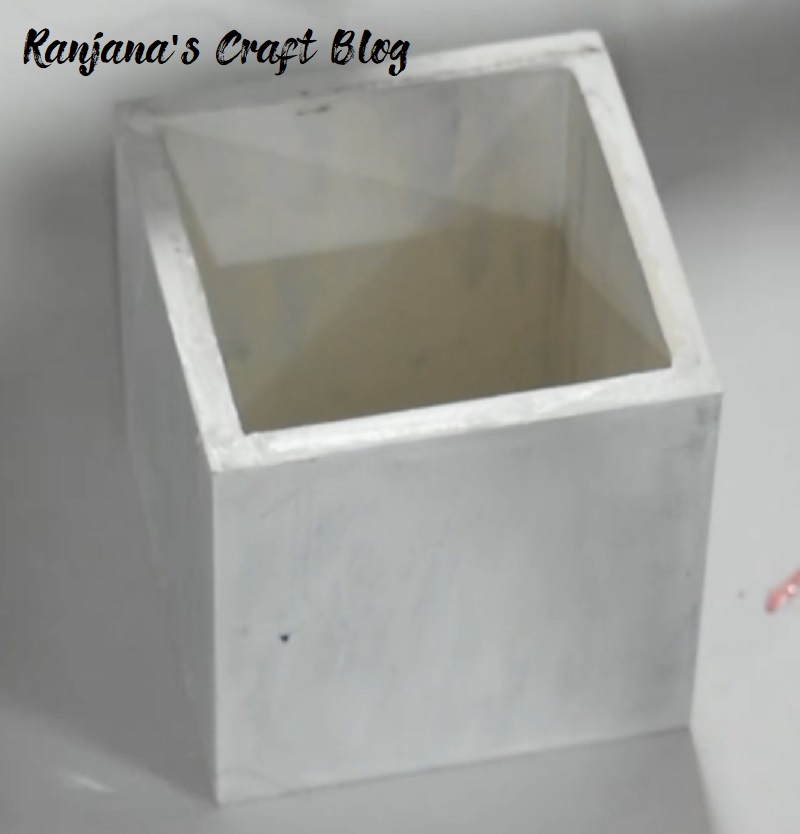
Gesso applied
2. Apply decoupage glue on the surface where you need to place the design. And let it dry for some time.
3. Tear of the design and place it on the surface. Dip the sponge in water and squeeze. Dab it gently on the design.
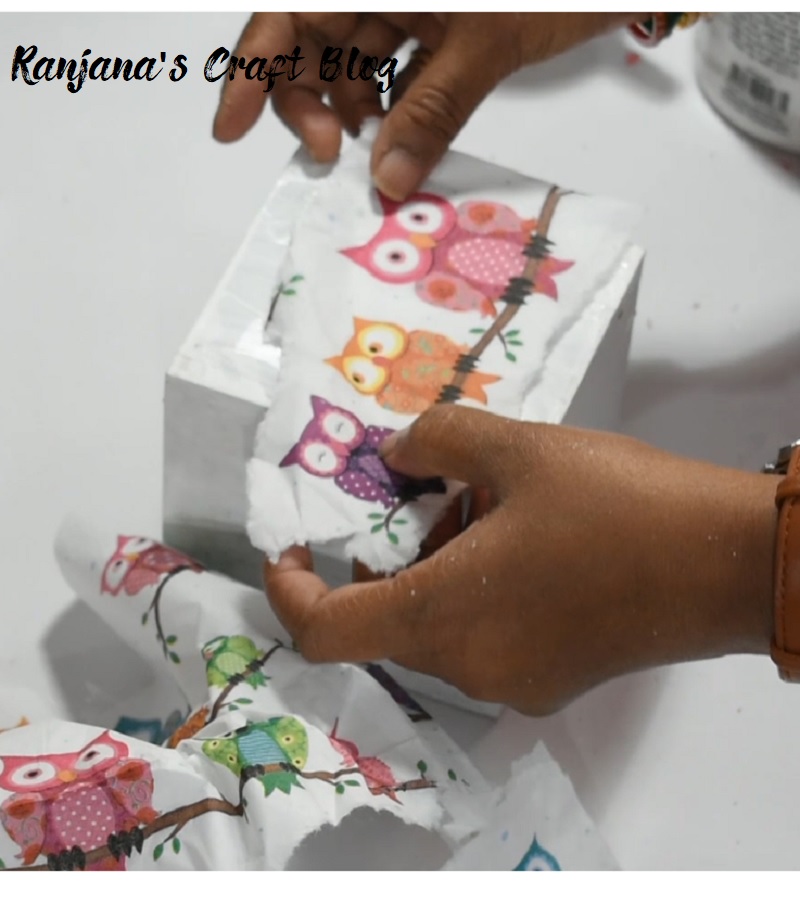
Place the tissue
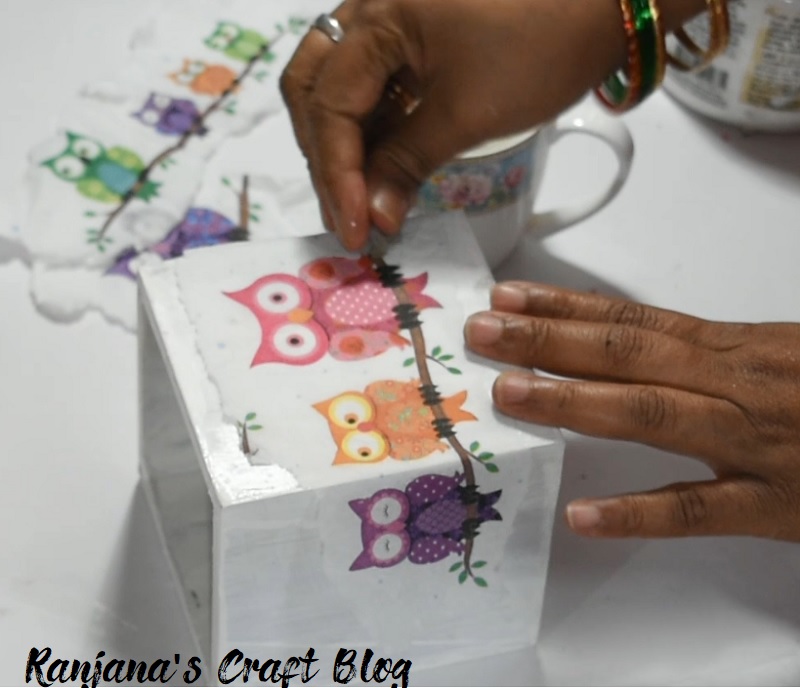
Gently dab with wet sponge
4. Make shape of the design with air dry clay and with glue fix it on the same.
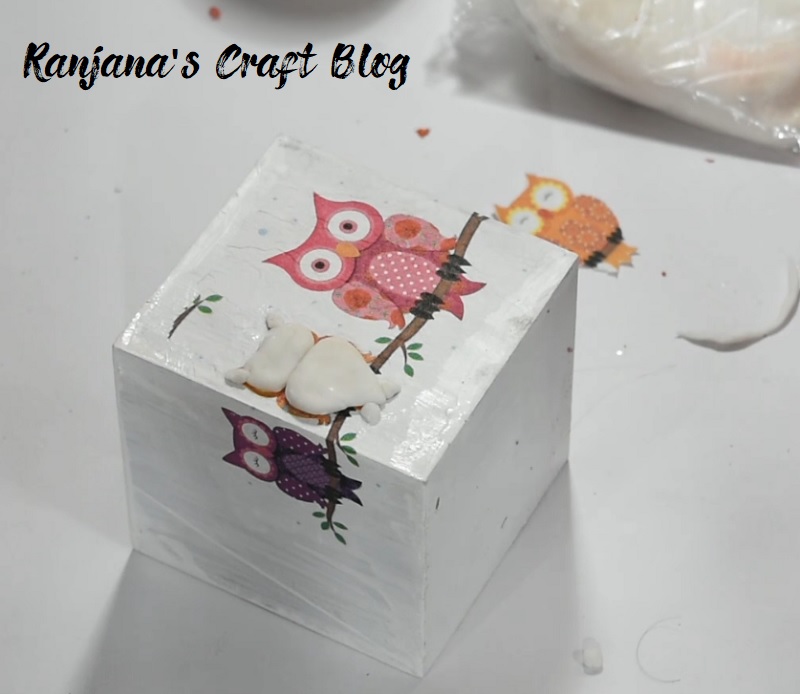
Shape with air dry clay
5. Glue another design cut on the air dry clay shape
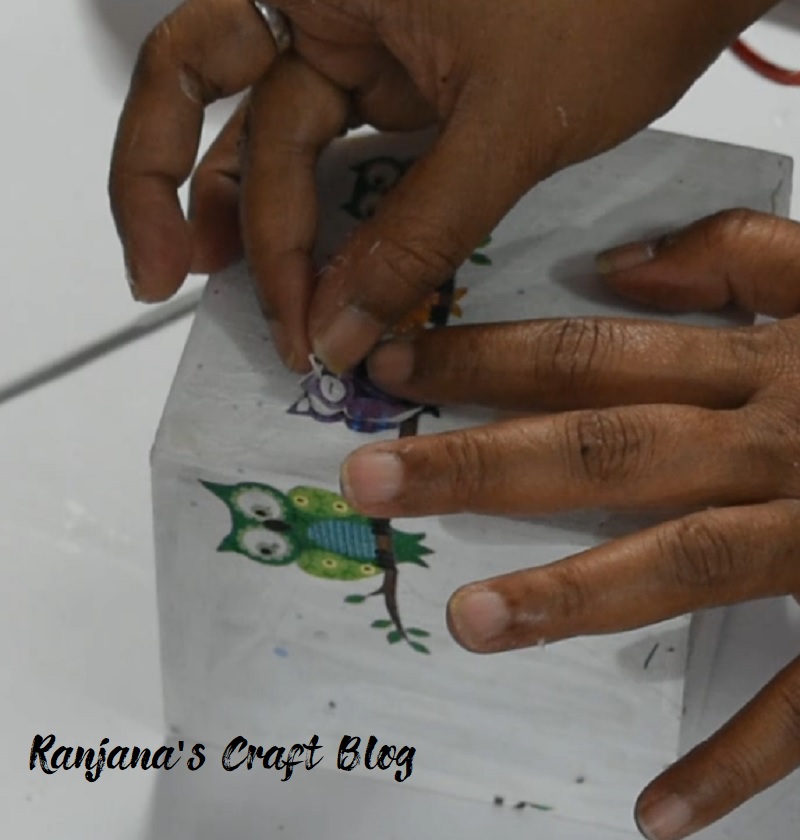
Glue the same design cut on the air dry clay shape
6. Give shape to the design with any shaping tool
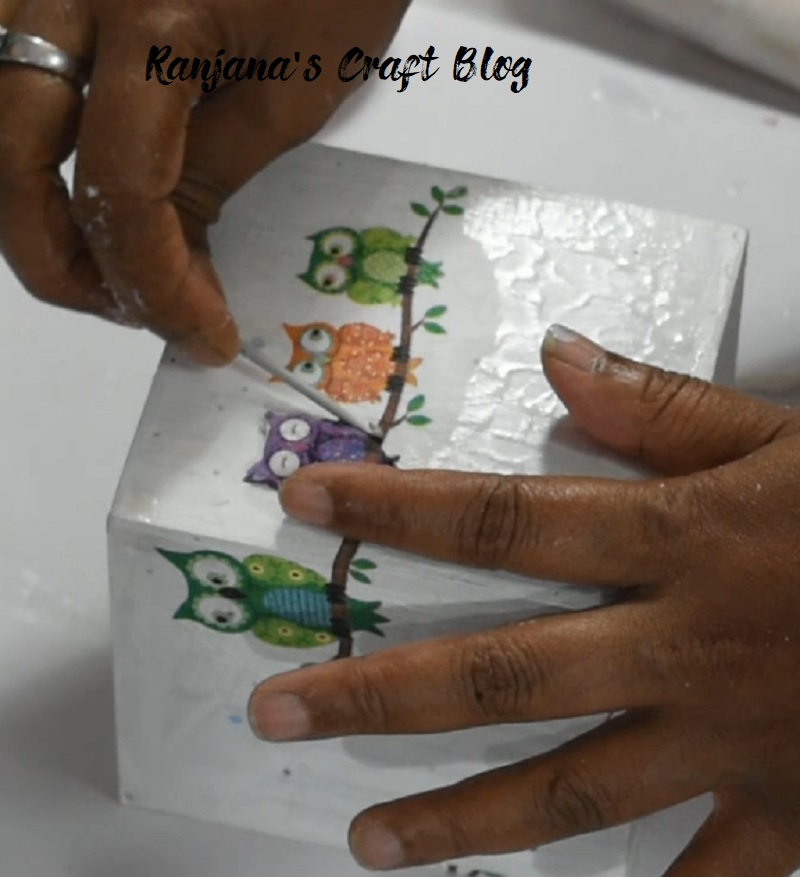
Shape it
7. Now paint the remaining surface with any matching color.
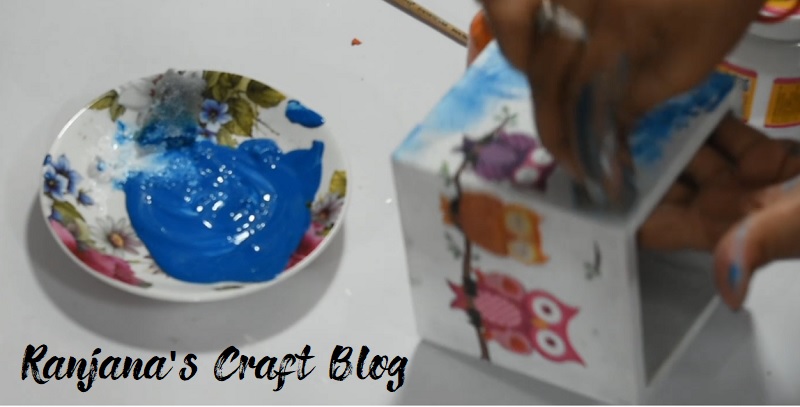
Paint remaining surface
You can apply glitter to highlight the design.
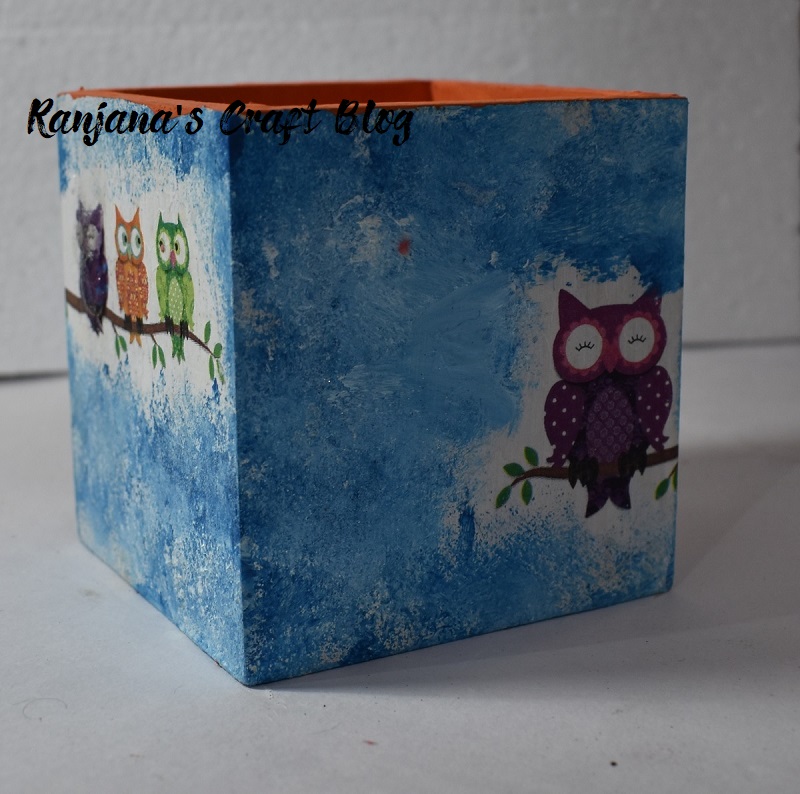
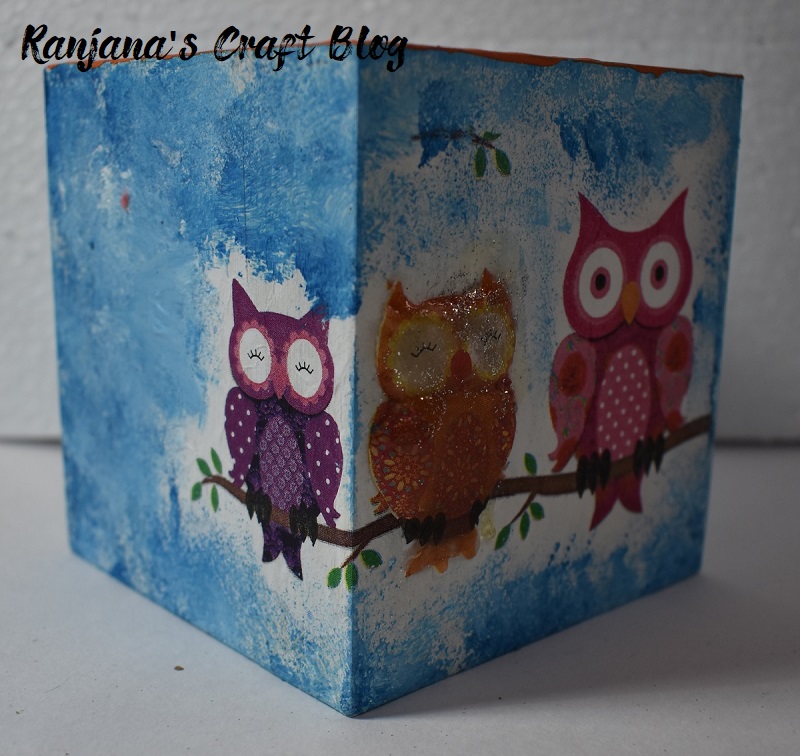
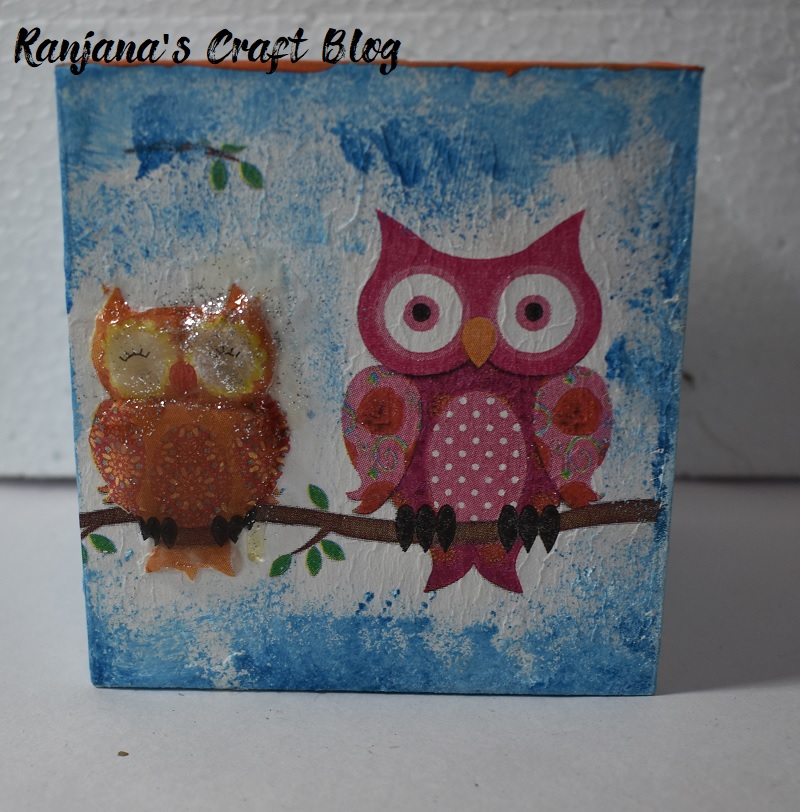
Highlighted design
Here is the video tutorial of the same:
Love, Laugh and Live the life to the fullest,
-Ranjana

