3D- Decoupage- A brief tutorial
In prvious post I had shared about 3D decoupage I tried on bottles. Many of the readers are requesting for the tutorial for the same. Decoupage is a simple technique to beautify any surface. I have been working on decoupage from several years. The first decoupage I made was on a pot and aluminum plate. Nowadays decoupage napkins are available in variety of designs and prints. So tissue decoupage is in trend. Tissue decoupage consumes more time , but the the outcome and finishing of the work is too good. I had shared tutorial of one technique of tissue decoupage in a post.
Also read : Bottle art- Tissue decoupage tutorial -Part 1
Tissue decoupage tutorial- Part2
3D decoupage is similar to tissue decoupage, but the twist is little 3d effect is given using air dry clay. So the air dry clay is another material required for 3D decoupage.
Materials required for 3d decoupage:
- Decoupage napkins(2 decoupage napkin with same design are needed)- this is available in craft shops online too. Design of one’s choice. If flower , birds or the designs where 3D effect look good can be selected
- Air dry clay
- Decoupage glue
- Any craft glue
- Acrylic colors
- Bottles
- Primer (I have used Gesso)
- Sponge pieces
How to make 3D decoupage on the bottle :
First , wash the bottle and dry it. If the bottle has label etc, soak it for few mins in soap water.
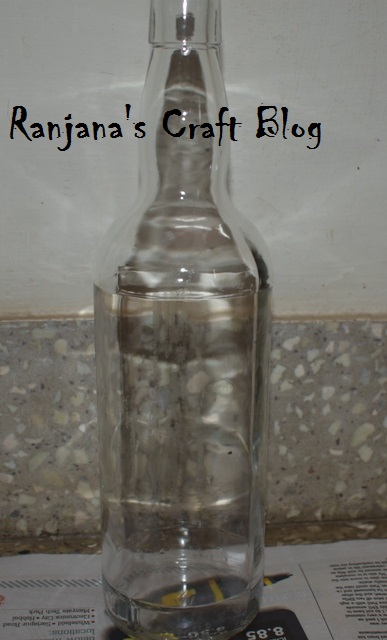
Bottle washed and dried
Now on the bottle , apply gesso or primer using sponge piece. Just dab the primer on the bottle:
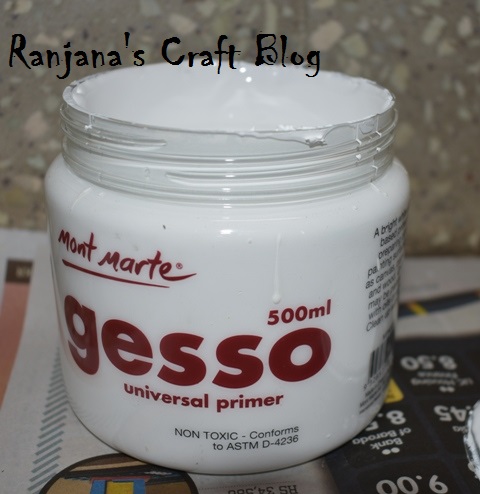
Gesso I have used as primer
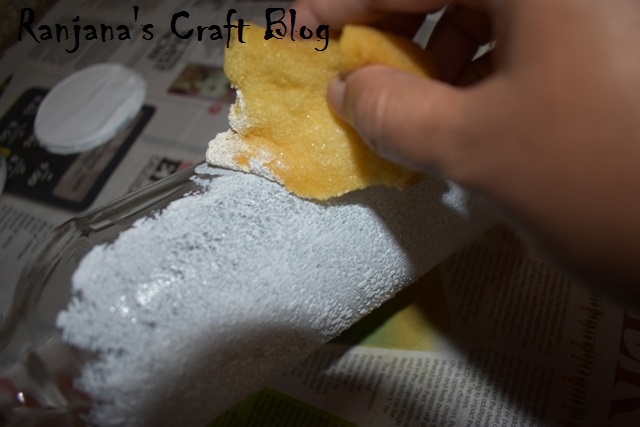
Dab on surface using sponge
Allow it to dry.
The bottle looks like this now:
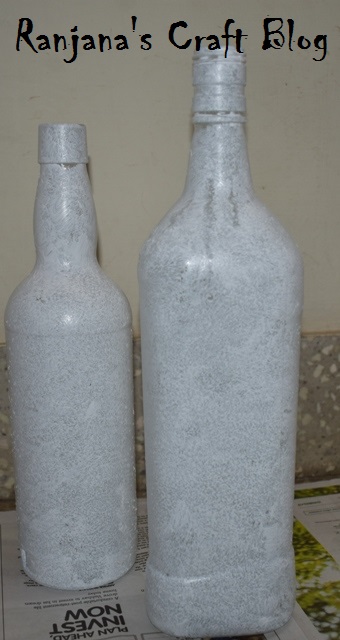
2-3 layers of primer can be applied
Separate the decoupage napkin, from the base tissue. With brush apply decoupage glue , one strip and stick the decoupage napkin. This step should be done carefully, as there are chances of decoupage napkins getting torn.
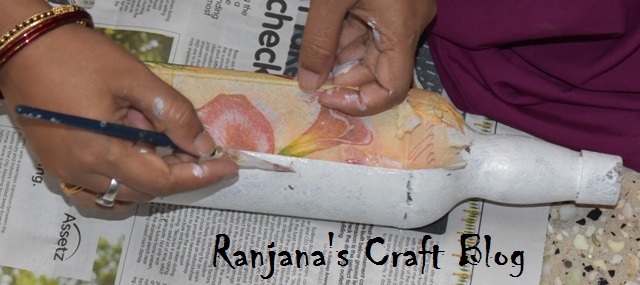
From one end start applying the decoupage napkin
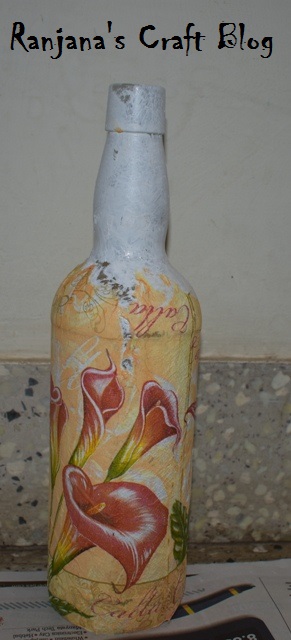
Decoupage napkin applied
Wherever the 3D effects should be given, apply air dry clay. The shape of the air dry clay depends on the shape of the design chosen for 3D effect. I have chosen 2-3 flowers and leaves. Fevicol or any other craft glue can be used to attach the air dry clay
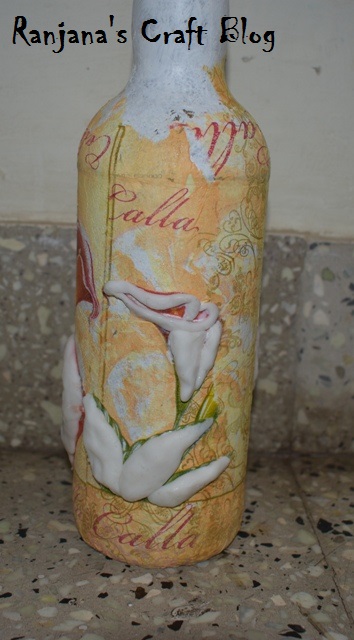
The air dry clay applied in the shape of flower
Let it dry for some time.
Now from another decoupage napkin of same design, cut the designs on which air dry clay is applied.
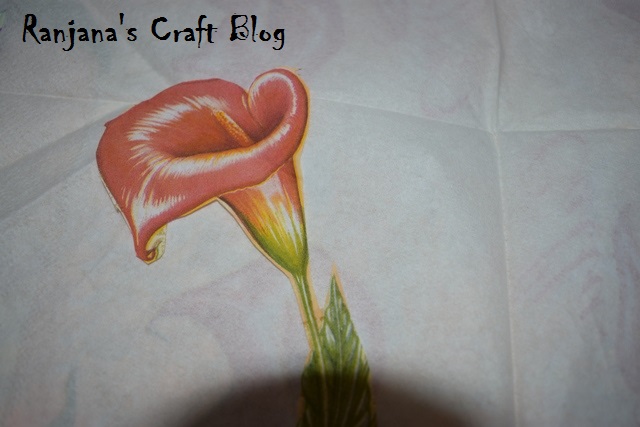
Cut out the design from another decoupage napkin
With decoupage glue paste the cut out design on the air dry clay attached:
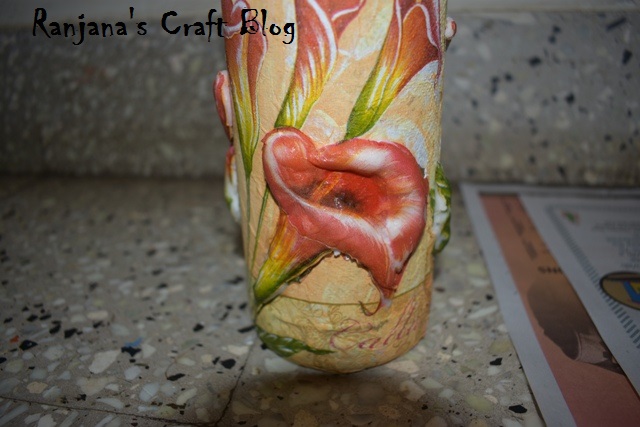
Paste the cut out design on the 3D effect given
Apply some colors, if the air dry clay is seen from the edges.
Then the acrylic color can be used to fill the space, wherever decoupage napkin is not covered:
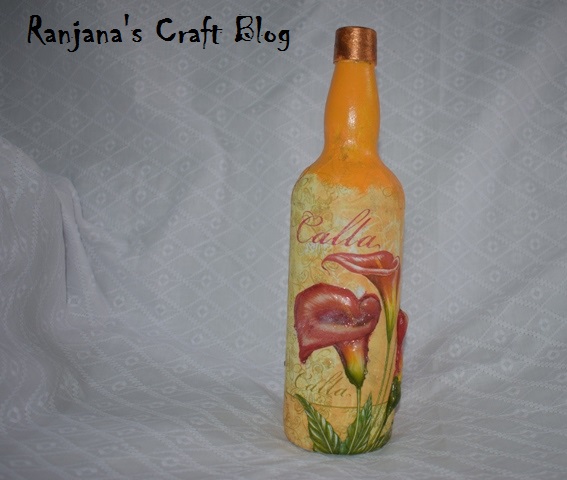
Apply acrylic color on left out space
The bottle can be applied with decoupage varnish.
Planning to share many tutorials and DIY techniques in coming posts. Subscribe to know more about arts and crafts of the world
Love,Laugh and Live the life to the fullest,
-Ranjana


Of late I have been thinking of trying decoupage. You have explained the steps of 3D decoupage in detail. Will try it someday.
Wow! just lovely.
Wow, this is amazing!
Such a detailed description of the technique. The bottle is looking so beautiful! Thanks for sharing!!