Acrylic pouring tutorial with Camel DIY Kit
Acrylic pouring is mesmerizing art. I had tried my hands in Acrylic pouring two years ago. The acrylic pouring requires acrylic color and the pouring media. These both should be mixed. I have found the acrylic medium DIY kit from Camel. This is ready to use kit. They have released three shades, Aqua, Monochrome and Sunset shades. I bought Aqua shade.
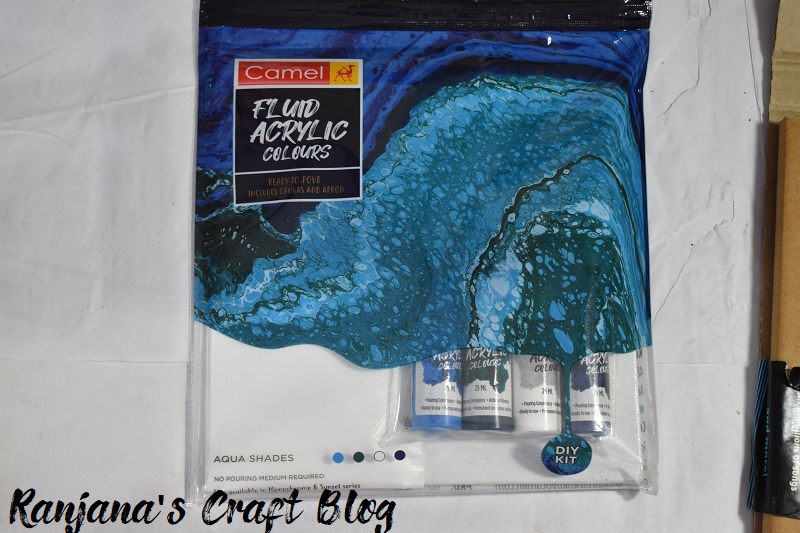
The KIT
It contains4 paint bottles, a plastic apron and a small canvas.
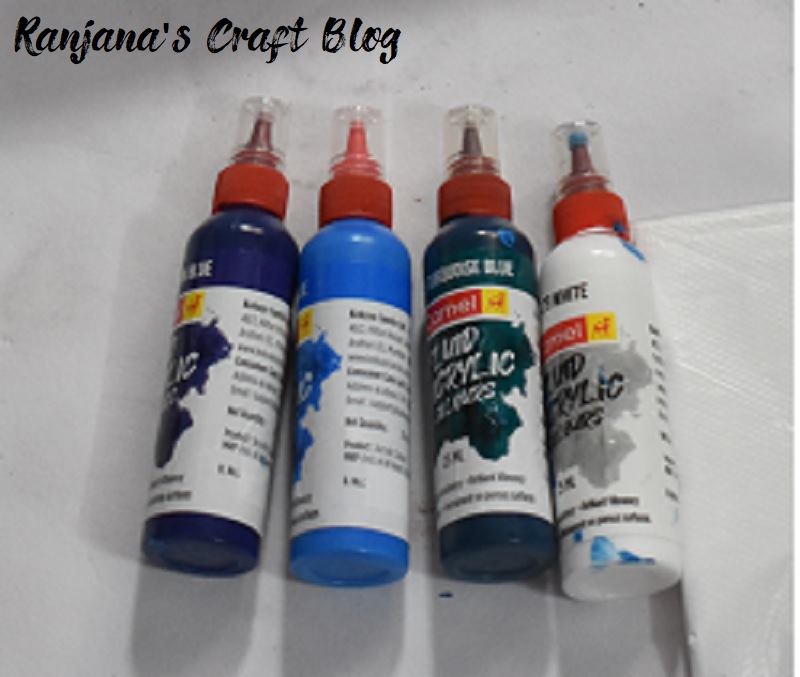
The paints
Acrylic pouring tutorial:
- Wear Apron if you need. And spread old news papers on the floor. Pour the paints one by one in a plastic container or a cup. Don’t mix the colors. Normally in pouring technique the colors are poured in the cup , with dark and light color pattern. It depends on the your design too.
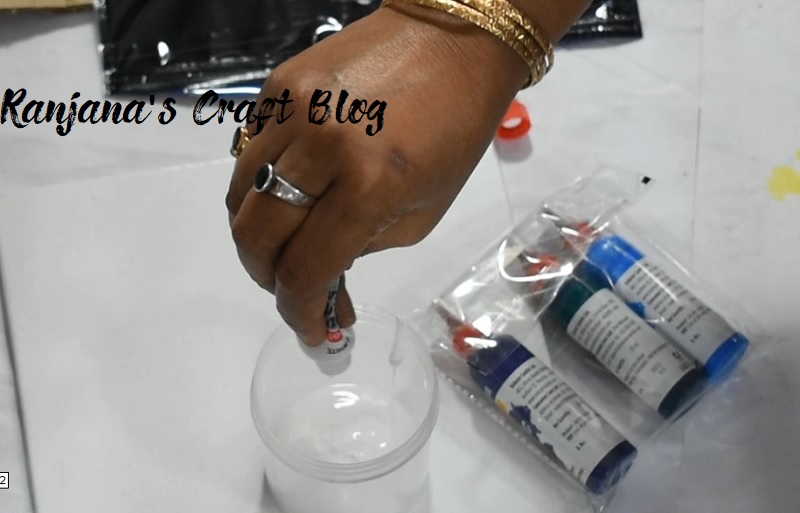
Pour the colors one by one
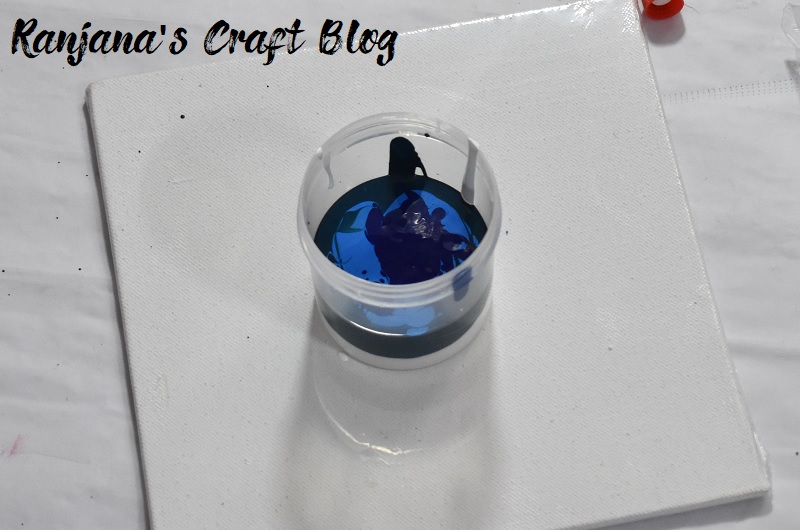
The colors
2. Pour the colors slowly on the canvas according to your design
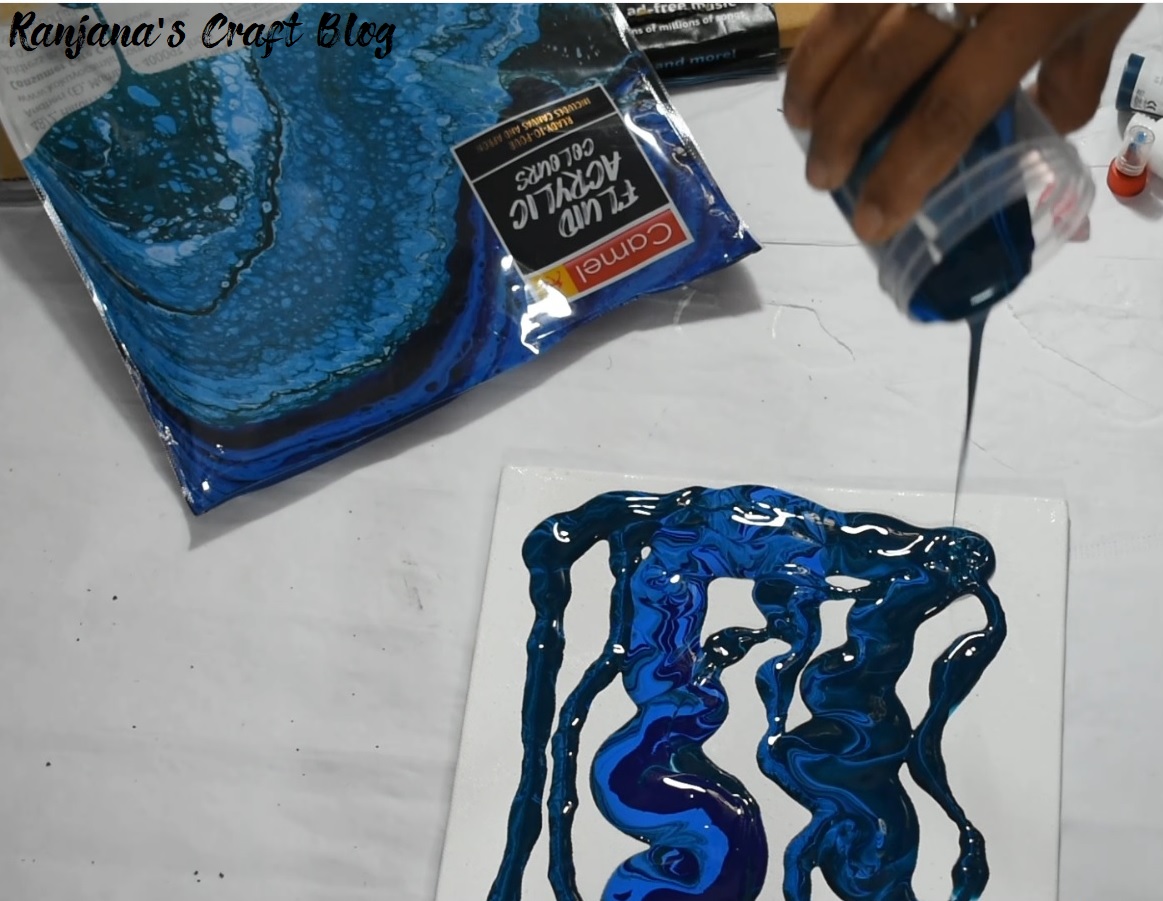
Pour the colors on the canvas
3. Now slowly tilt the canvas to make your design:
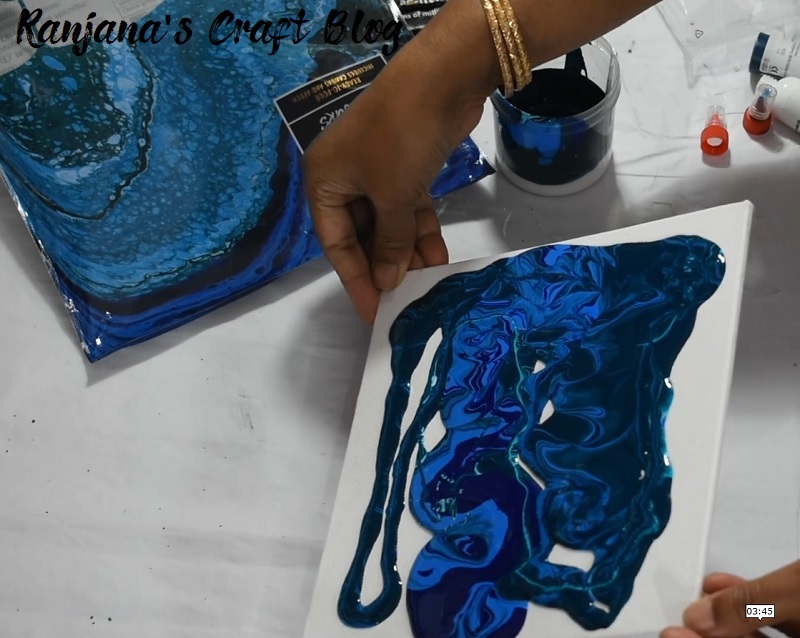
Tilt the canvas
Let it dry for 24 hours. Then you can apply or spray varnish on the paint.
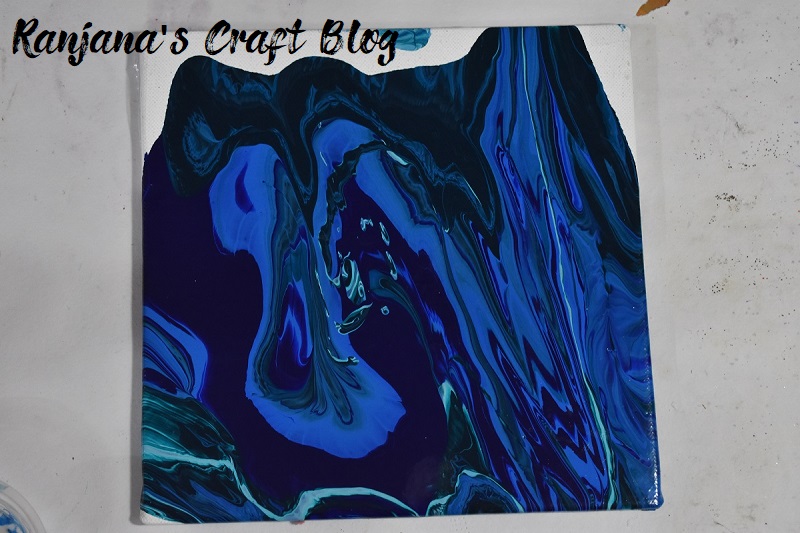
The design
Though the kit is for one paint, with the remaining paint I made one more design, on another canvas.
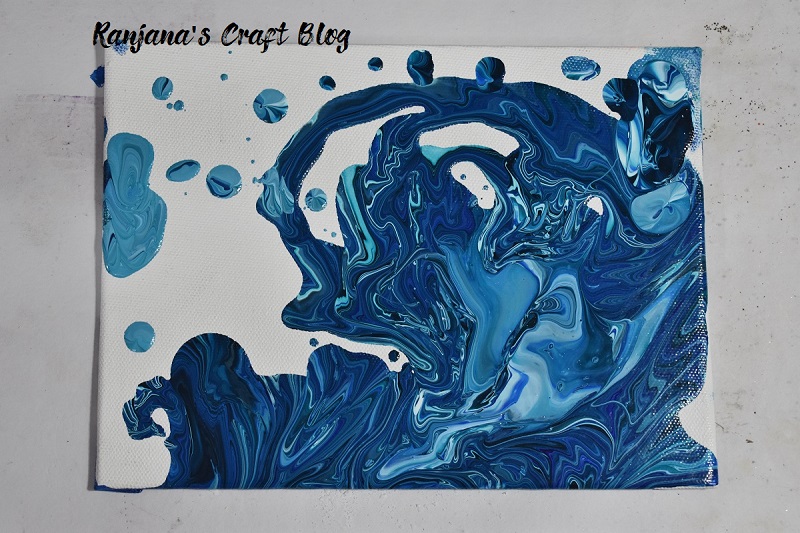
One more design
This kit is good for beginners, just get hand of acrylic pouring. With this beginning, you can go for bigger designs. It costed me Rs. 219. For the price it is good.
I have also shared a video tutorial too. Soon I will share tutorial on pouring technique using paints and medium.
Until then,
Love , Laugh and Live the life to the fullest,
-Ranjana

