Bottle art-Tutorial- Tissue decoupage on a bottle-Part 2
Last post , I have shared how to prepare a bottle for bottle art. This is the continuation of the same post. This post how to apply the printed tissue on a bottle. Materials required are listed in the previous post.
Procedure :
3. Apply decoupage glue , all over the bottle.
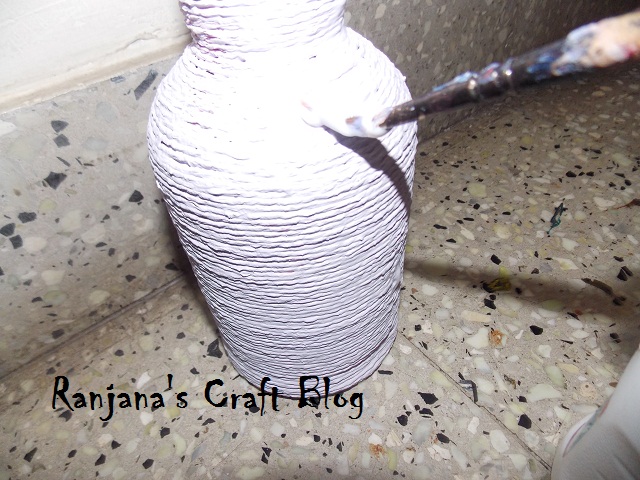
Apply decoupage glue all over the bottle
Let it dry for sometime.
4. Cut the tissue for the required size and place it on the bottle, where the design is required.
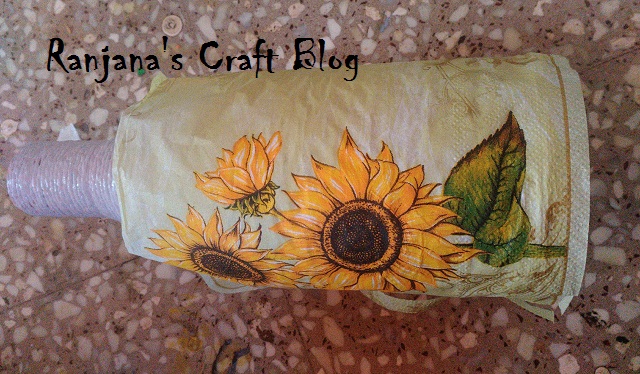
Place the design on the bottle
5. Take some water in a cup. Immerse sponge in the water , take out and squeeze.
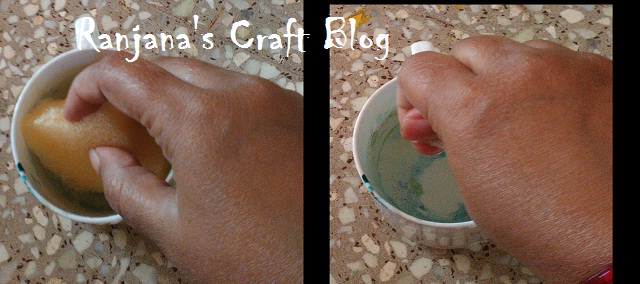
Immerse sponge and squeeze
6. Now slowly dab the design with the wet sponge. Start it from one end, and finish it on the other end. Don’t use too much of water. This might tear the tissue.
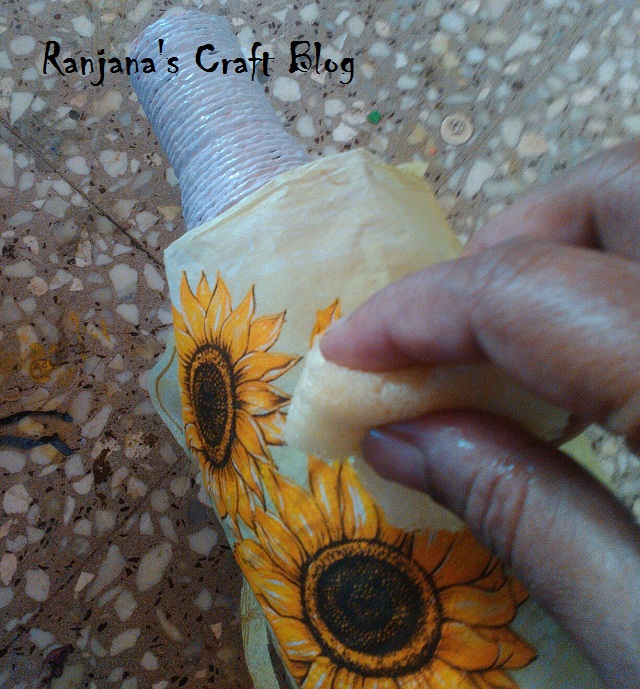
With wet sponge, dab on the design
7. Now you can apply one more layer of decoupage glue and the required paint to finish the design.
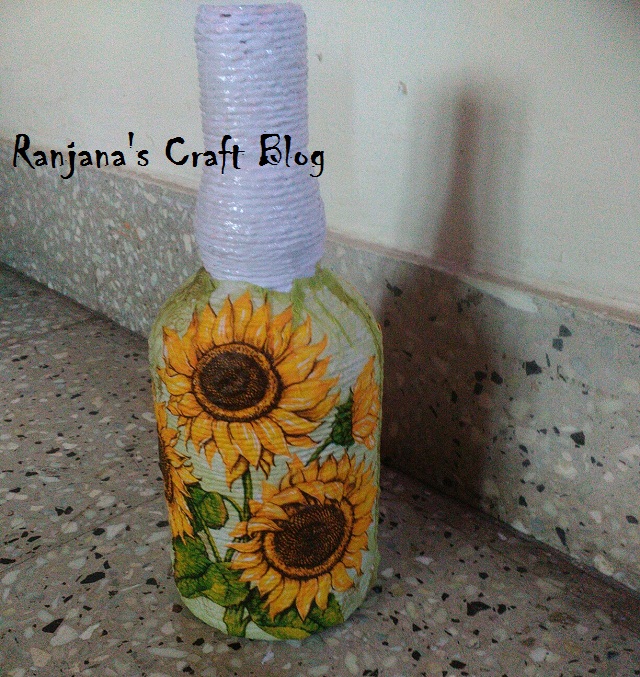
After application of tissue
This is how it looks , after I applied color and decoupage glue.
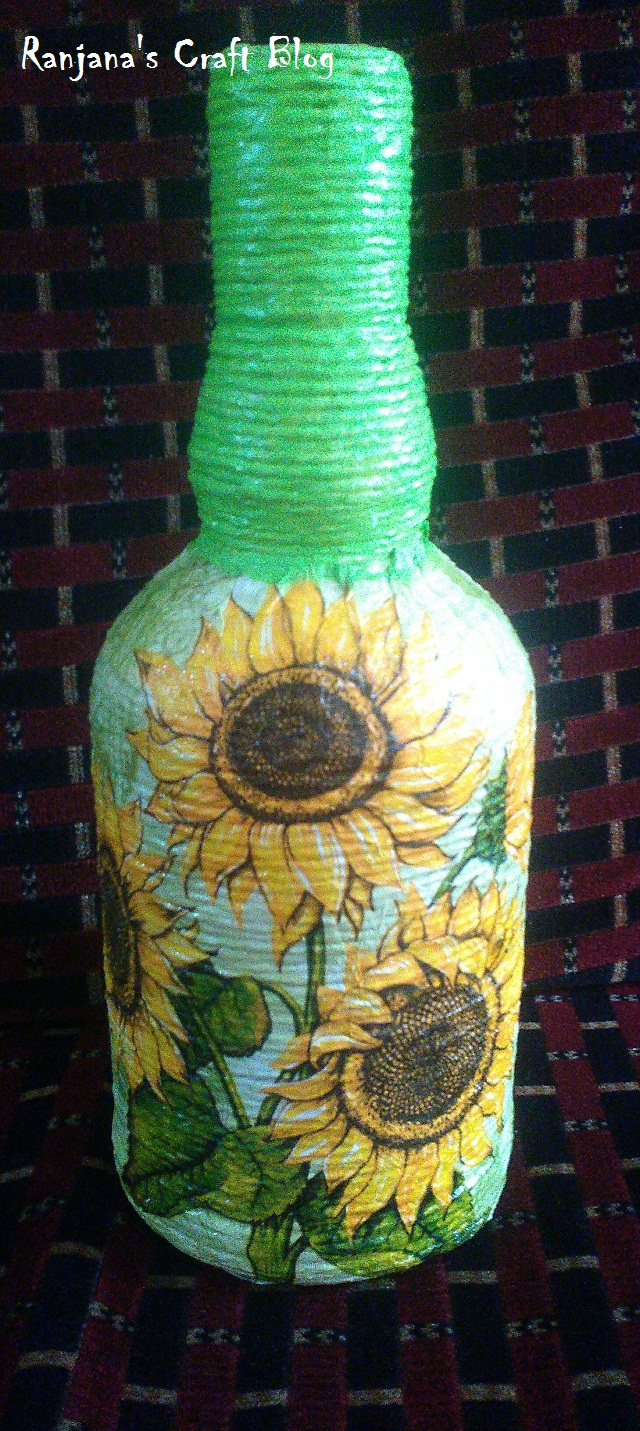
Final application of decoupage glue and paint
Learning many new forms of arts and crafts. Soon will share about those, will also share tutorials.
Until then,
-Love, laugh and live the life to the fullest,
Ranjana

wow, this looks perfect. Very pretty and amazing DIY. Love it 🙂
Thanks for sharing with us.
Have a great day.
Khadija
https://creativekhadija.com/
Amazing!