DIY- Handmade rakhi – Resin rakhi
This tie too I am sending handmade rakhis to my brothers. I have shared many handmade rakhi designs, in some of my posts. This time I am making resin rakhis. Making resin rakhi, is easiest way to make rakhi and also resin art is trend nowadays.
Materials required for making resin rakhi:
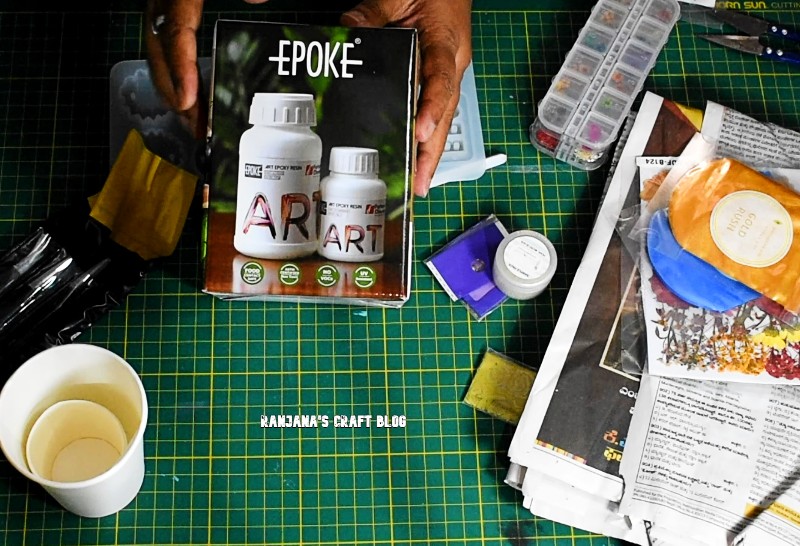
The materials for resin rakhee
- Resin kit with resin and hardener
- Some paper cups
- Resin rakhi mould
- Embellishments
- Resin colors ( if you want to make colored ones)
- Satin ribbons or chords
- Old news paper
Handmade rakhi tutorial:
1. First spread an old news paper on the surface.
2. The resin kit will have two solutions. One is resin and another is hardener. Both should be mixed in the ratio 3:1. Pour the resin in a cup.
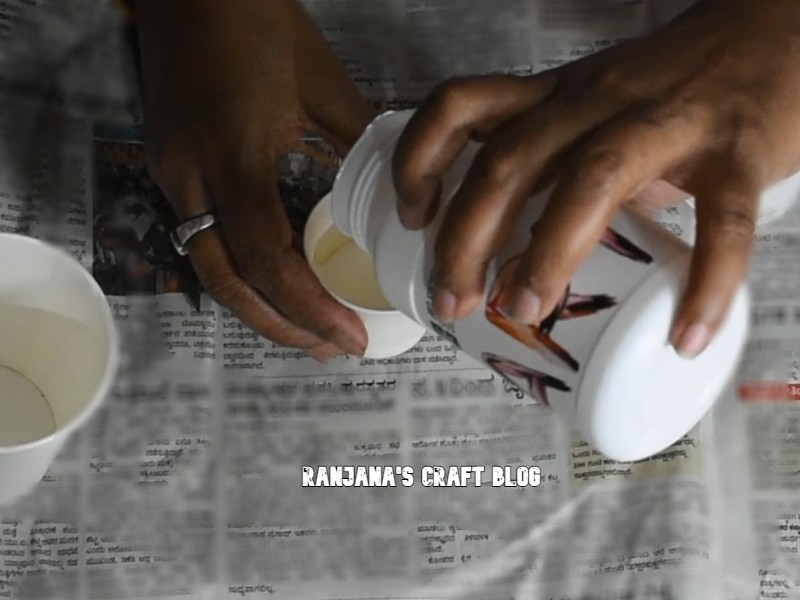
Pour resin in to a cup
3. Take hardener, 1/3rd measure of the resin taken.
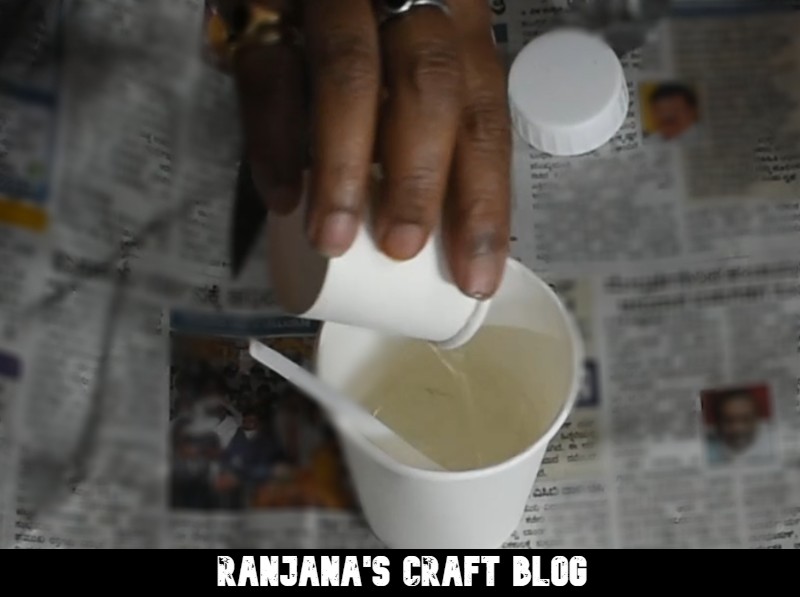
Hardener of 1/3 rd measure of resin
3. Mix both the solutions for five minutes.
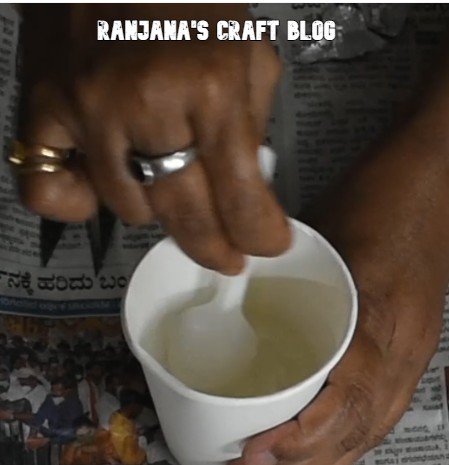
Mix both solutions
Leave this mixture for five minutes. This will reduce the bubble formation in the handmade rakhi .
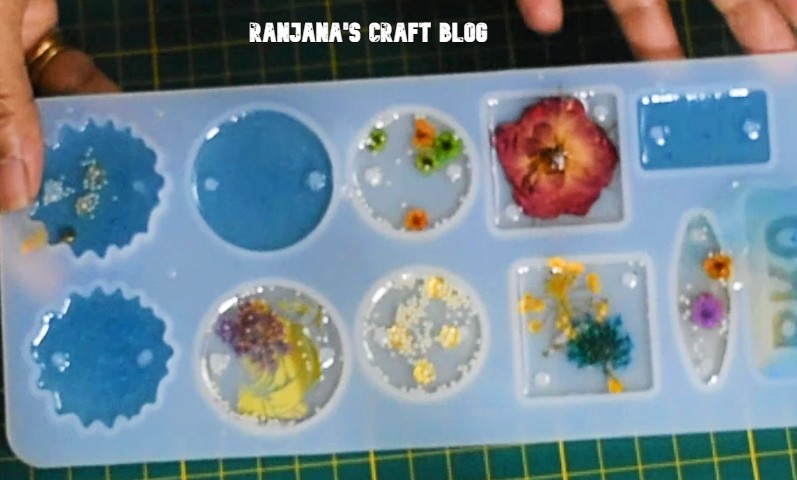
4. Now in the resin mould place the embellishments as per your handmade rakhi idea.
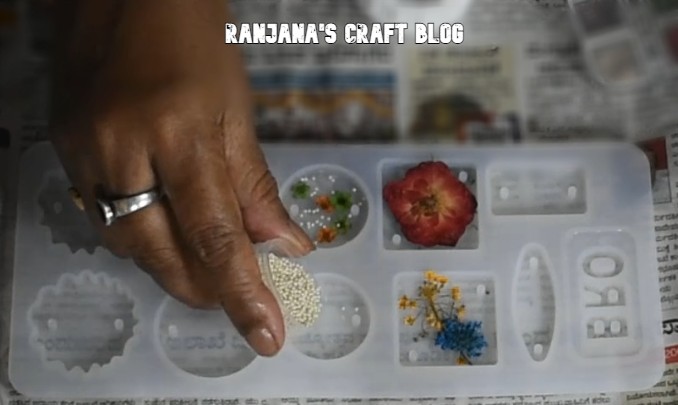
Place the embellishments in the mould
5. The slowly pour the resin mixture in the mould
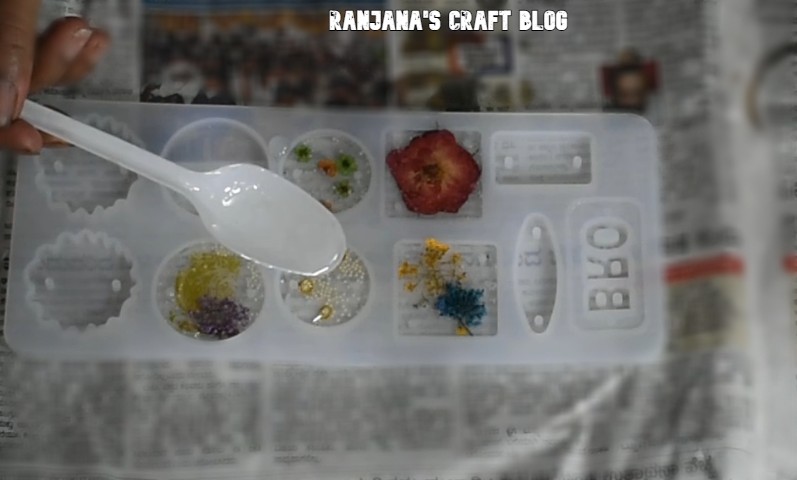
Slowly pour the resin mixture
6. Let it dry for 24 hours.
Dried ones
7. Once it is dries, the resin rakhis can be removed from the mould easily.
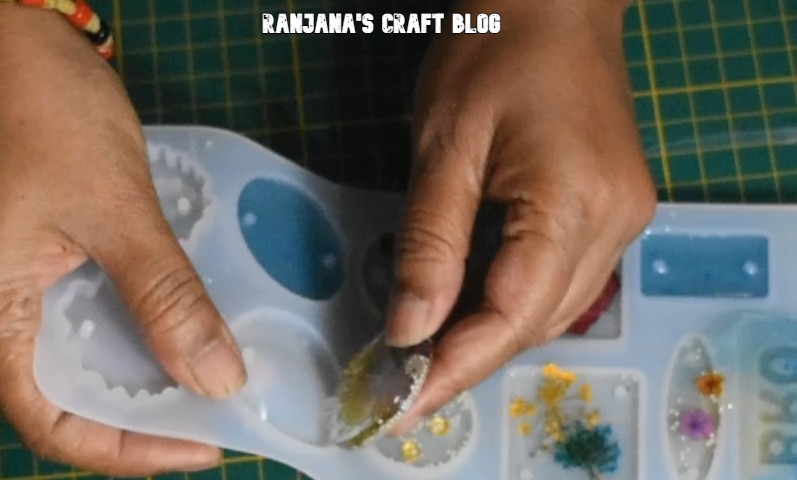
The resin rakhi can be removed
8. The tie the ribbons or chords to the ends. You can also add beads or other embellishments at the ends.
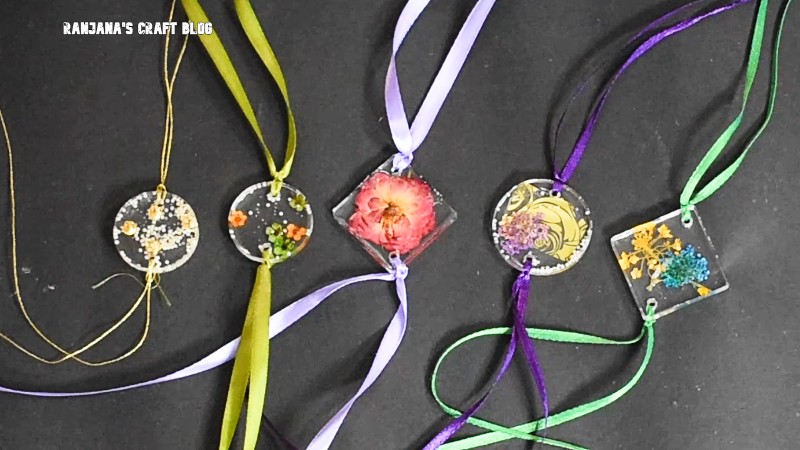
The resin rakhis are ready
Your brothers will definitely love thee kind of handmade rakhis. To make it easy, I have also shared a video tutorial.
Happy Raksha Bandhan !
Love, Laugh and Live the life to the fullest,
-Ranjana