How to make a topsy turvy doll- Tutorial
Topsy turvy doll, is a doll which symbolizes, two opposites. This doll is double ended. The two characters of the human being are represented by the dolls, and these dolls are joined at the hips. I didn’t know about topsy turvy doll. One of my friends, asked me that whether I can make it for her daughter. I do like to make dolls and love to collect dolls. But I was reluctant to make any doll, because it requires lot of time. But I couldn’t resist also, because this was for her school project. I like to post school projects tutorial in my blog, because I remember my struggle to make the school projects, when my son was in primary and secondary schools.
I did some research to understand the concept and chose the concept as “sleeping”, and “being awake”. It really took two days for me. It involves lot of work to make topsy turvy doll. Here I am sharing the tutorial,
“How to make topsy turvy doll”.
The materials required:
- Fabrics: For the doll body use skin color cotton or felt fabrics. For the dress, use different printed fabrics.
- For filling cotton
- Threads and needles
- Cardboard for drawing the pattern of topsy turvy doll.
- Pencil for marking
- Scissors
The steps of making topsy turvy doll:
- Mark the pattern on a card board and place the pattern on the skin color fabric. Cut along the pattern. It is better fold the fabric two times, so that four cuttings of the pattern are available in one go.
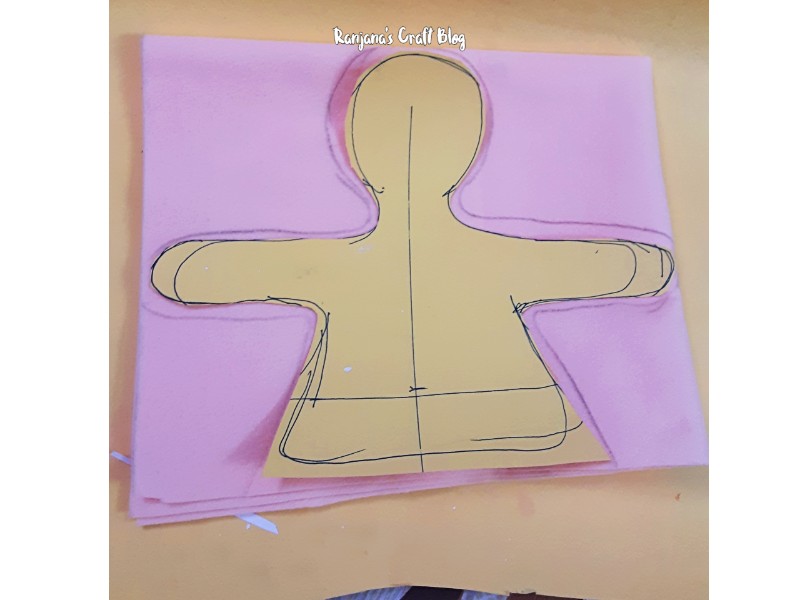
Pattern on the fabric
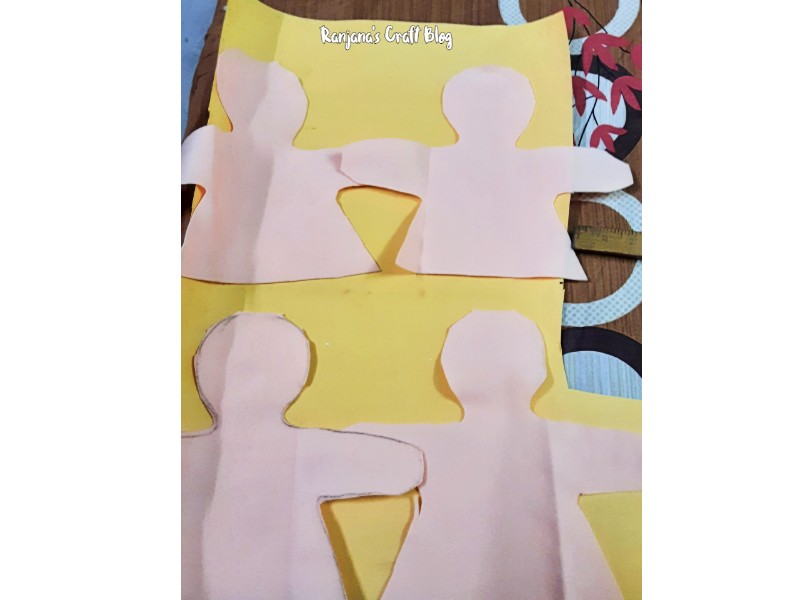
The pattern cut
2. Take two pieces, and stitch along the straight line.
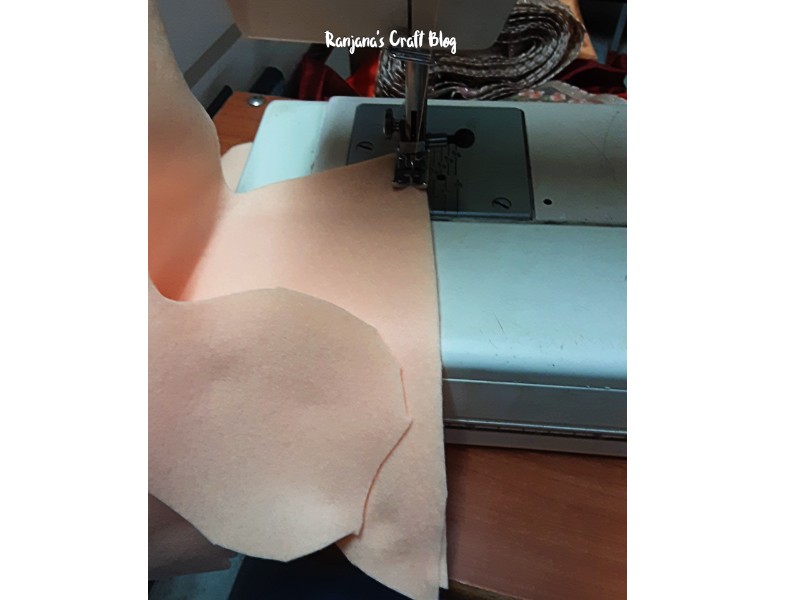
Stitch along the straight line.
Once stitched , the pattern looks like below:
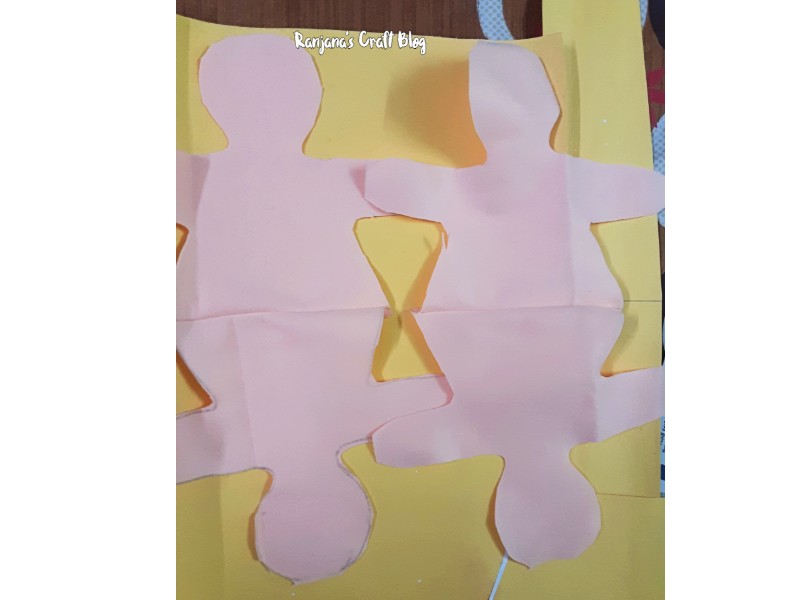
The stitched pieces
In these two pieces, one will be used as front and another back.
3. On the front piece, on one face, mark eyes closed, nose and lips. On the other face mark eyes open , lips and nose.
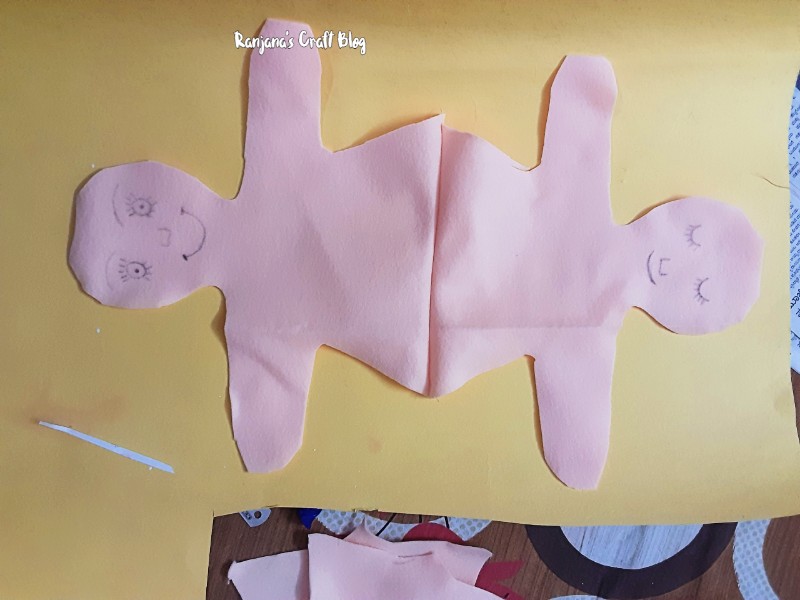
The eyes, nose and lips are drawn
4. Now with stem stitch or any other suitable stitch, embroider the eyes, nose and lips, with suitable color threads.
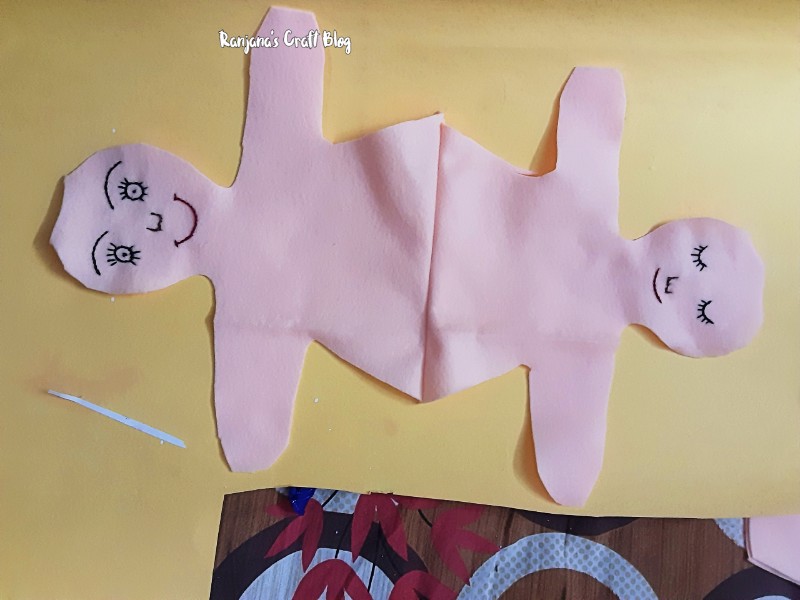
Embroidered the nose, lips and eyes
5. Now place the patterns , one above the other, right side facing each other. And stitch along the edges, leaving the straight line part.
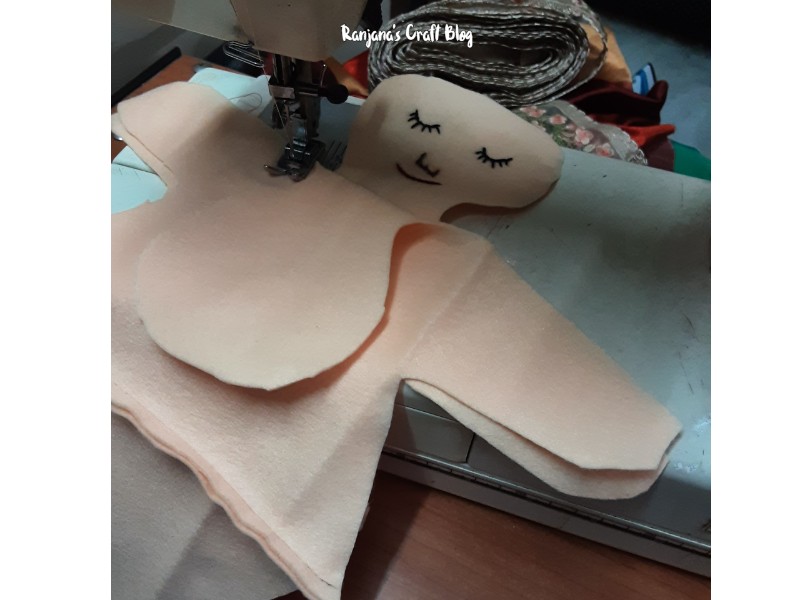
Stitching along the edges
After stitching, this looks like in below picture. The middle part is not stitched to fill the stuffing.
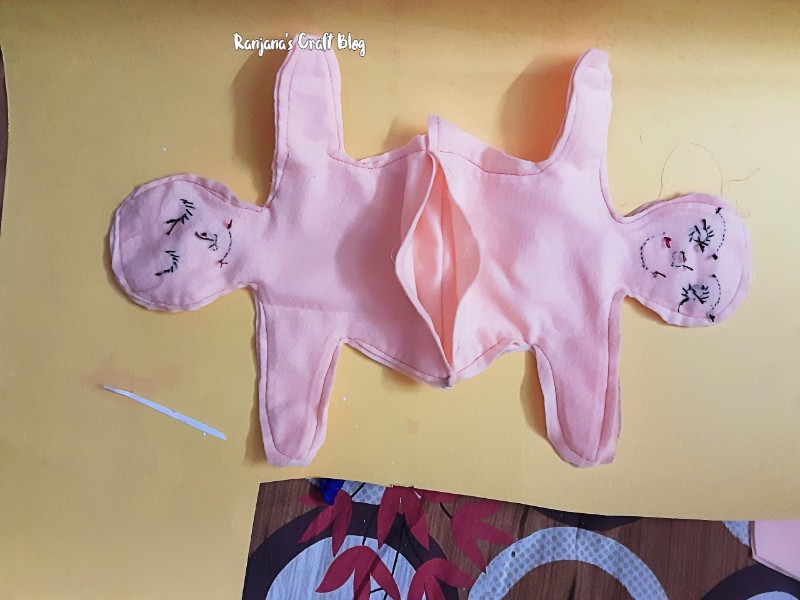
The doll is stitched
6. Now turn out the doll from inside. Then fill the cotton.
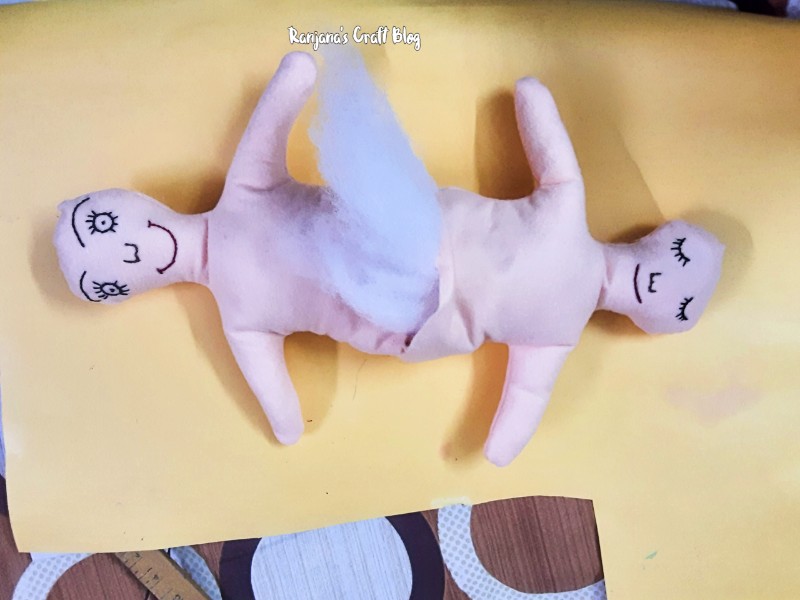
The doll filled with cotton
7. Now close the opening, either by machine or hand sewing.
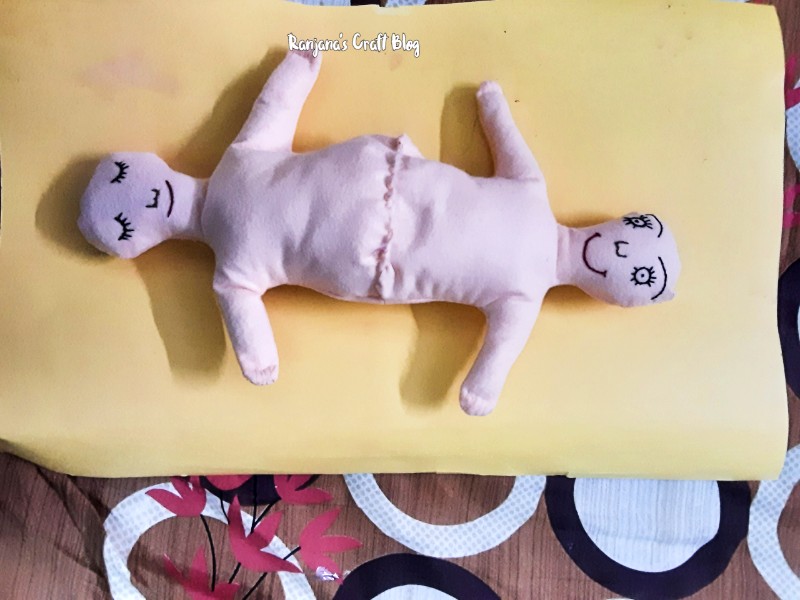
Sew the opening
8 .
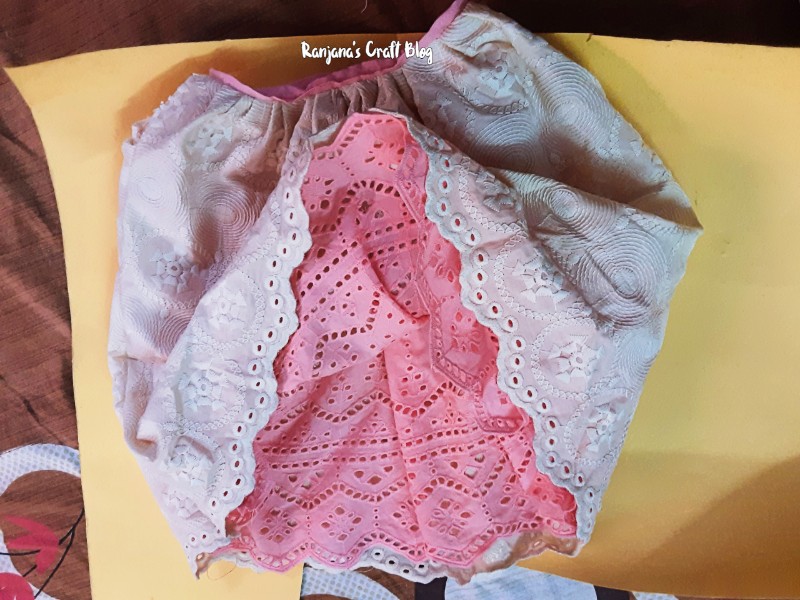
The skirt of the doll
Now the dress for the topsy turvy doll should be made. For the skirt , I have taken two different fabric. Cut the fabric for required length and breadth. The breadth should be more, because the frills will give very pretty look and also it will be easy to turn. The length should be enough to cover the other doll. Place the fabric facing right side to each other and stitch along the width, gathering the frills.(Like stitching the skirt)
9. Now stitch the skirt along the joined waist . The sew the blouse for both the body parts. Attach black thread or woolen as hair. The topsy turvy doll is ready.
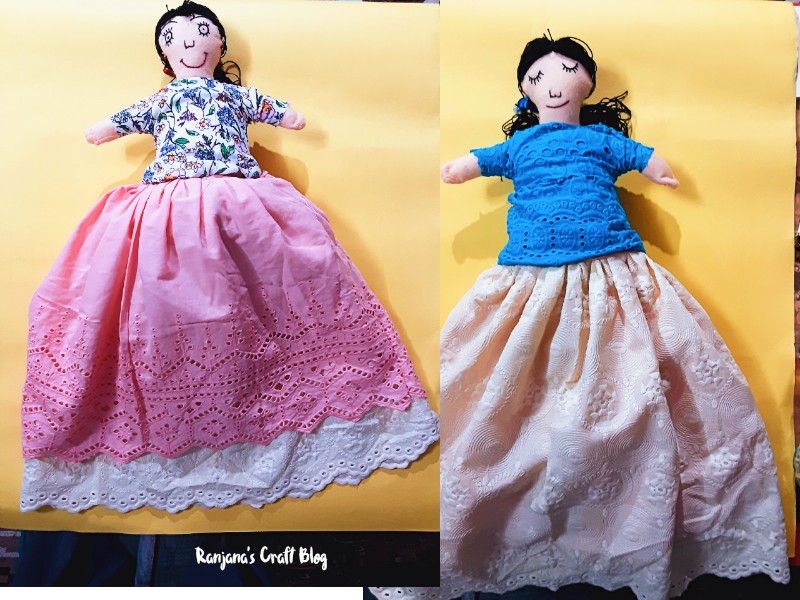
Topsy turvy doll
Love, Laugh And Live the life to the fullest,
-Ranjana

Lovely post as always. Lucid explanations.