How to renew an old wooden box using decoupage – Tutorial
I have come out of embroidery hangover 🙂 . This is only for time being. But I was missing paper art and painting. So this week completed a long pending work in decoupage. After I used decoupage here is new look of the box.
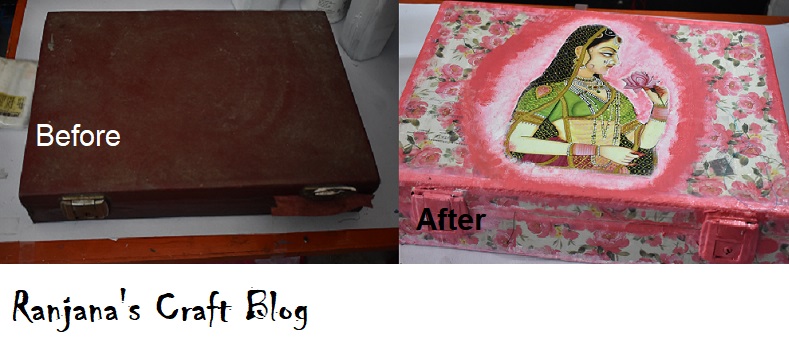
The makeover
Thought of sharing this technique with my readers and followers. Here is the tutorial of the renewing technique using decoupage.
Required materials for decoupage:
- Decoupage design papers or decoupage tissue
- Decoupage glue
- Primer or white acrylic color
- Sponge
- Acrylic colors
- Varnish( Optional)
- Brush
- Water
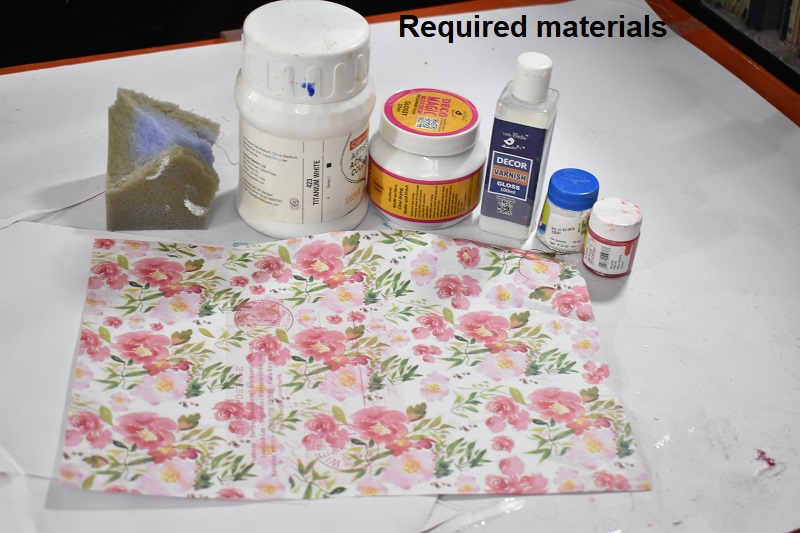
Required materials
- Clean the inner and outer surfaces of the box ( If required sand paper can be used)
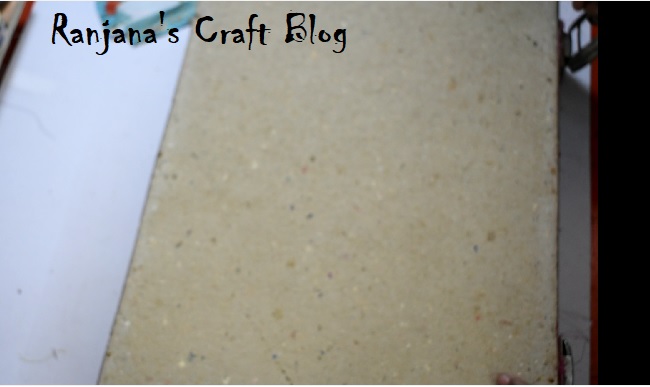
Clean the surface
2. Apply primer or white acrylic color all over the box. You can apply several coats, till you get a smooth surface.
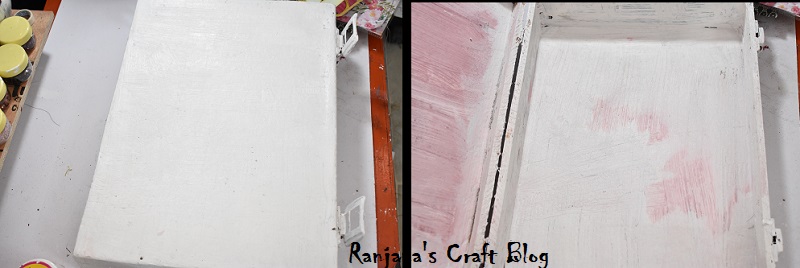
Apply primer all over
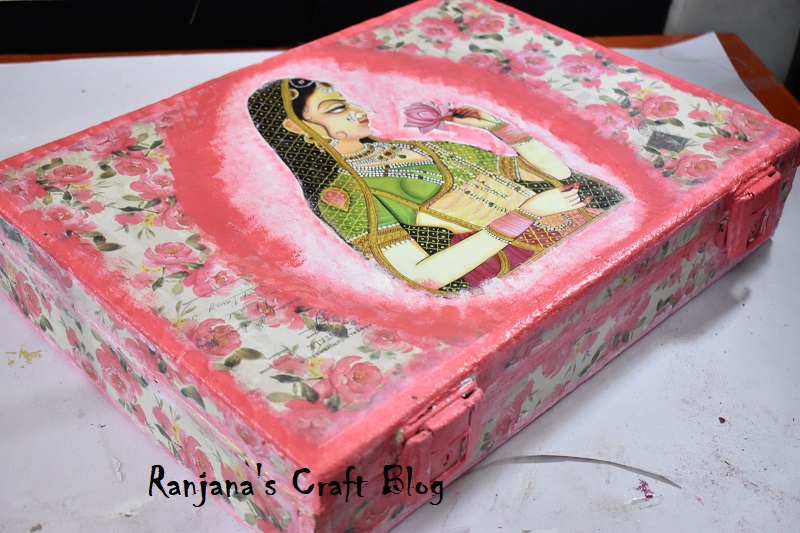
3. With decoupage glue stick the design chosen on the box, wherever the design is planned.
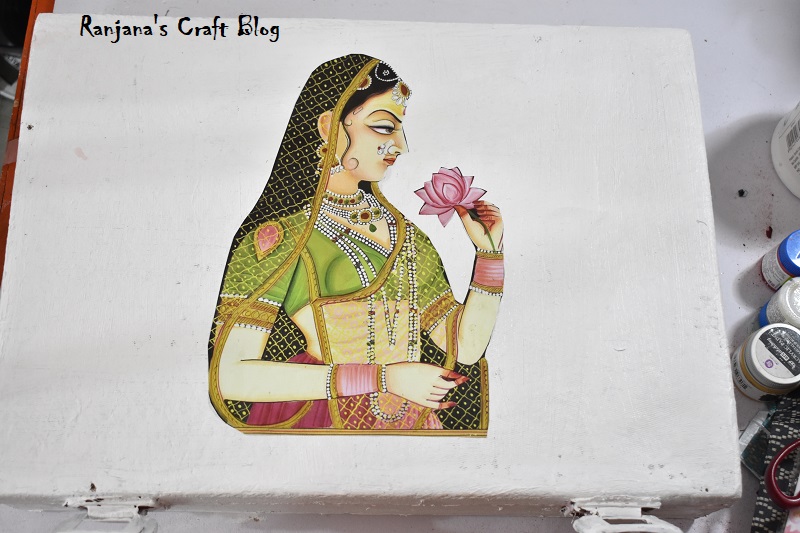
This is the main design I have chosen
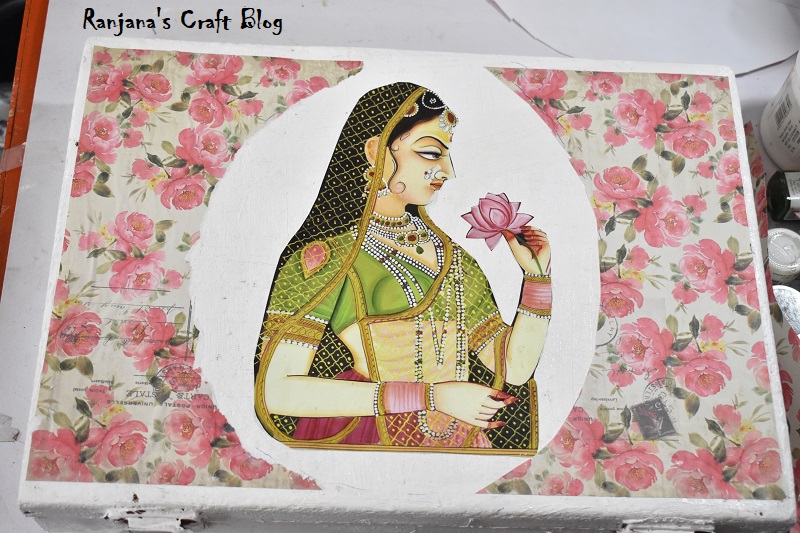
Around this I have stuck decoupage papers
4. Cut the decoupage design paper to required size and shape. Here I require rectangular shape, so cut it accordingly.
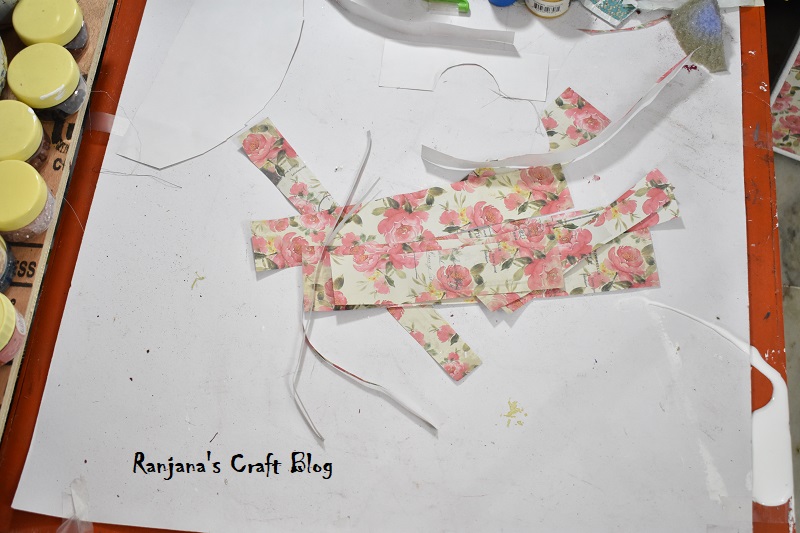
For the sides of the box
5. Stick it with decoupage glue, on the sides of the box
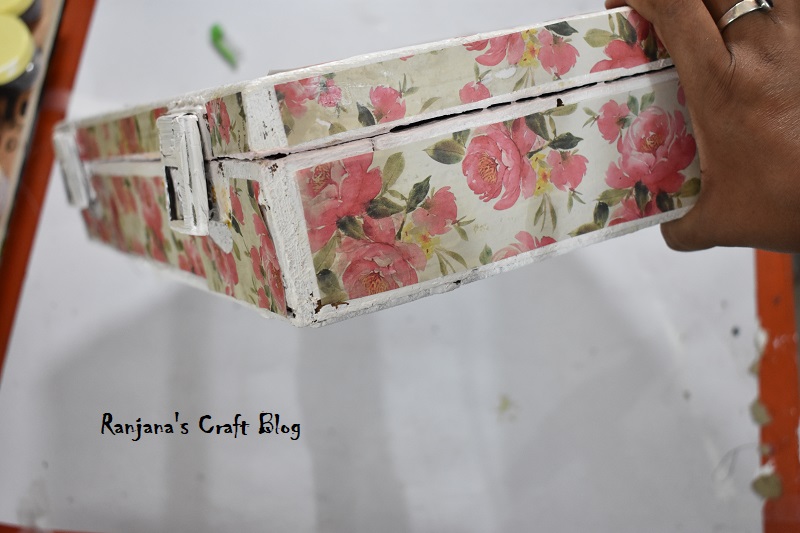
On the sides of the box
6. Now pour the paints chosen, on a palette. Take some paint from that on a sponge.
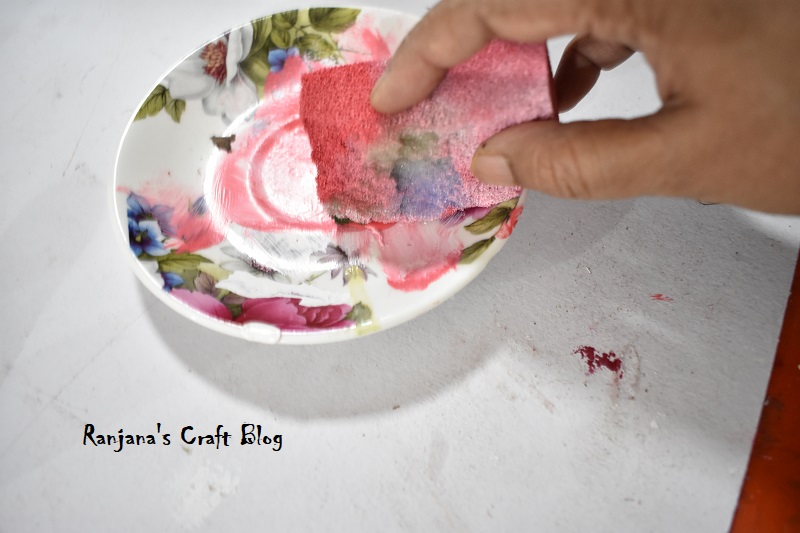
Painting time
7. Dab it on the surface , which doesn’t have the decoupage paper.
Dab it on the surface as per requirement
8. Inside paint is with any contrast color.
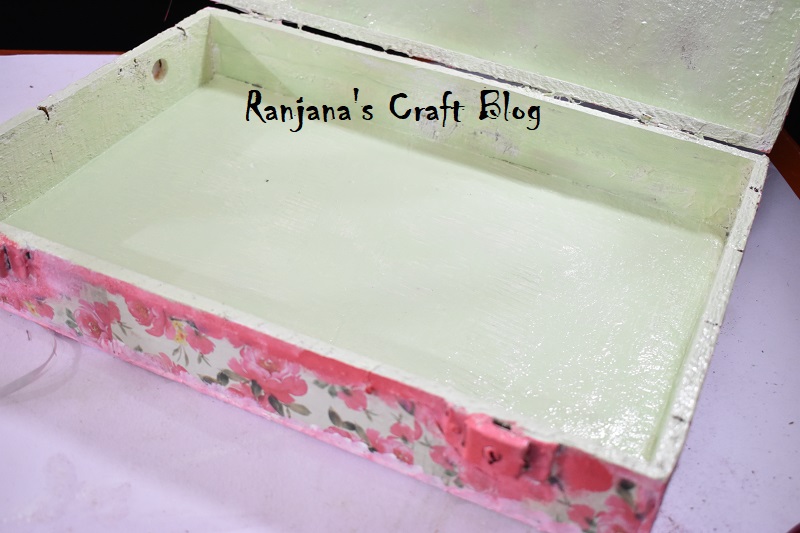
Inside of the box
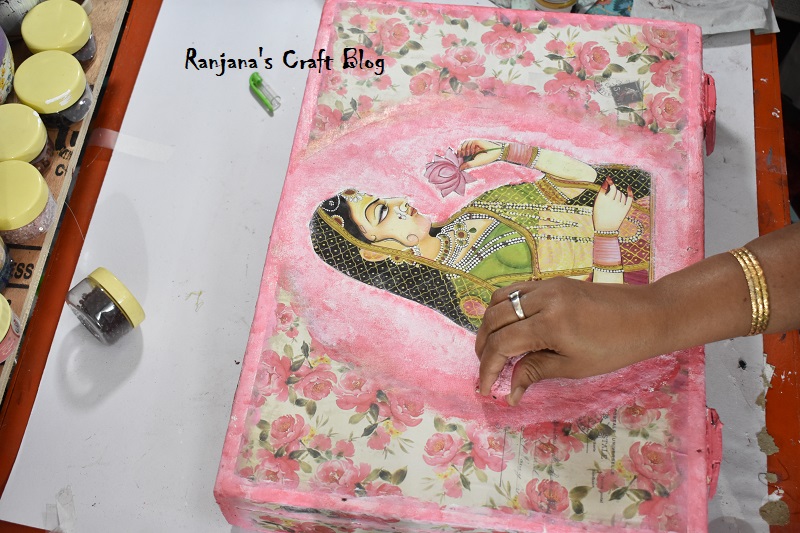
9. If required, the varnish can be applied.
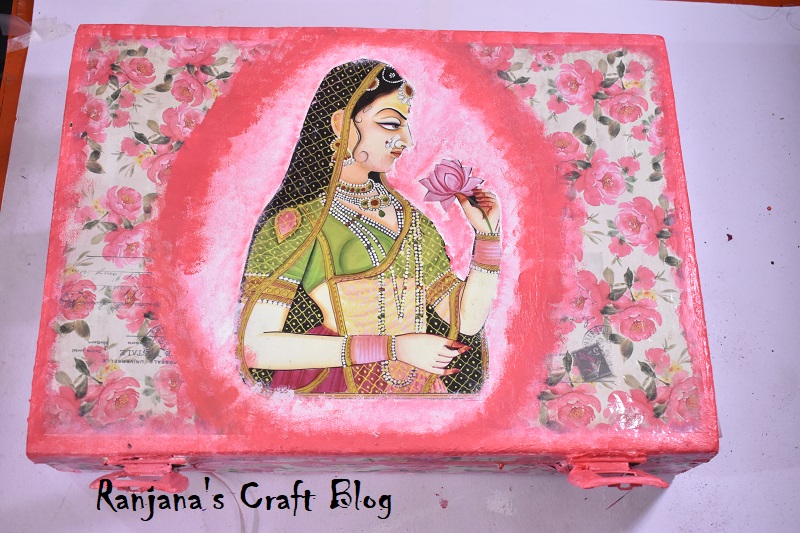
Final outcome
The same technique can be used to renew old furniture, also for bottle arts.
I have also shared a video tutorial.
Love, Laugh and Live the life to the fullest,
-Ranjana